“Drive it ‘til the wheels fall off” isn’t the safest decision. So when does it end?

If you’ve met my fellow Shop Press contrib Pete, seen his videos, taken his classes, or read his articles, you’ll know he’s a scope junkie. Pete’s evangelization has had me curious enough to play with one a bit more to see what I could learn. My first obstacle? Access to a scope. My scan tool doesn’t have one.
I wanted to get into the game, but like many of you, I’m loathe to buy a tool that isn’t going to pay itself off quickly. The standard entry-level multi-channel lab scope is a big, bulky unit costing several hundred dollars.
Or so I thought.
I found a turnkey scope package from FNIRSI for a paltry $31.99 at the time of my purchase in late 2024: the DSO152. I was unaware such a tool even existed at this price point, so in a mad dash of optimism, I ordered one up and waited for The Big Brown Truck to show up at the shop door. Here’s how it measured up.
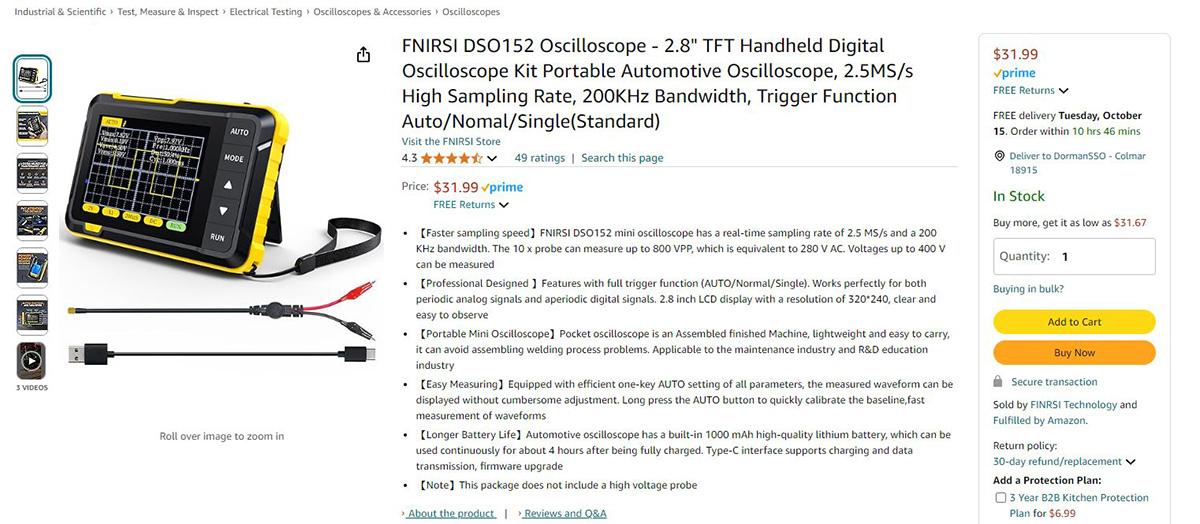
Amazon product listing. Image: Lemmy.
Normally reviewers are experts and power users. When it comes to a scope, I am neither. But since I’m only telling you about one entry-level tool as an entry-level user as opposed to the whole field, I might have a valid thought or two.
I have a few test lights I rarely reach for anymore; most of the time I reach for my meter. I’ve put many miles on a few Klein MM200s I bought years ago and are no longer made. The MM200 is a pretty standard auto-ranging multimeter I’d say is middle-of-the road. They’re not Fluke-quality, but they don’t need to be, either—kind of like a lab scope being used for automotive diag purposes. We don’t work in a lab, you know?
The o-scope is interesting in that a beginning user still needs a pretty solid electrical background to use one effectively, so I’m using “entry-level” in this context in regard to the tool and the user—but “entry-level” here might be a pretty high bar for electrical rookies. If you’re just starting out, this will do anything a DVOM can do, but you might be better served by purchasing that tool first. It’s a bit easier to learn to use effectively and because there are some features that aren’t as high-zoot but work better in some spots. (Things like a larger display, audible continuity mode, and in the case of my modest Klein, the ability to use a thermocouple.)
Holy smokes! This thing is tiny. I opened the very nice, sticker sealed, itty-bitty matte box with full-color photography and slid out a plastic tray that contained leads, a charging cable, a carrying strap, the scope itself, and an instruction manual.
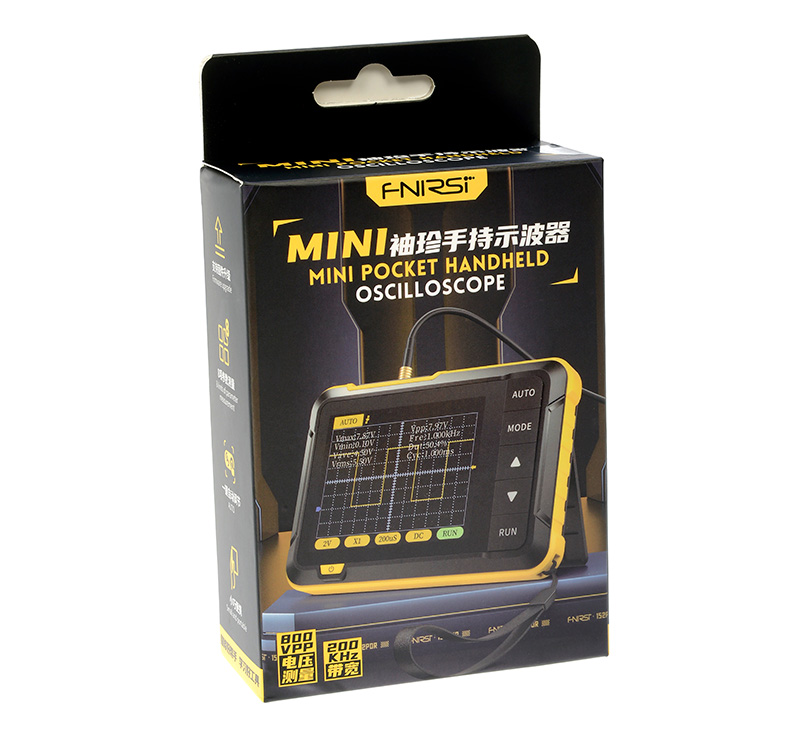
Image: Mike Apice.
I plugged it in to begin charging. It uses a standard USB-to-USB-C charging cable. While that was going on, I flipped to the English section of the manual to get a feel for how the thing works. There’s no touch screen, and at this price point, that makes sense. The controls include a power button, five buttons along the right edge of the screen, and a jog wheel on the upper right part of the housing. The controls aren’t super intuitive, but even without the manual, I think even most casual scope users will be able to jump in and start using the tool.
I took it for a test drive. I wired up a DC power supply rescued from a dumpster, and the thing registered the 12V signal. The power supply has a capacitor that powers an LED indicating the unit’s status. I unplugged the unit, adjusted the power and time divisions appropriately, and was able to watch the cap discharge slowly over time. Neat! I’ve been using it for all manner of things lately, intentionally reaching for it when I might have previously grabbed my multimeter.
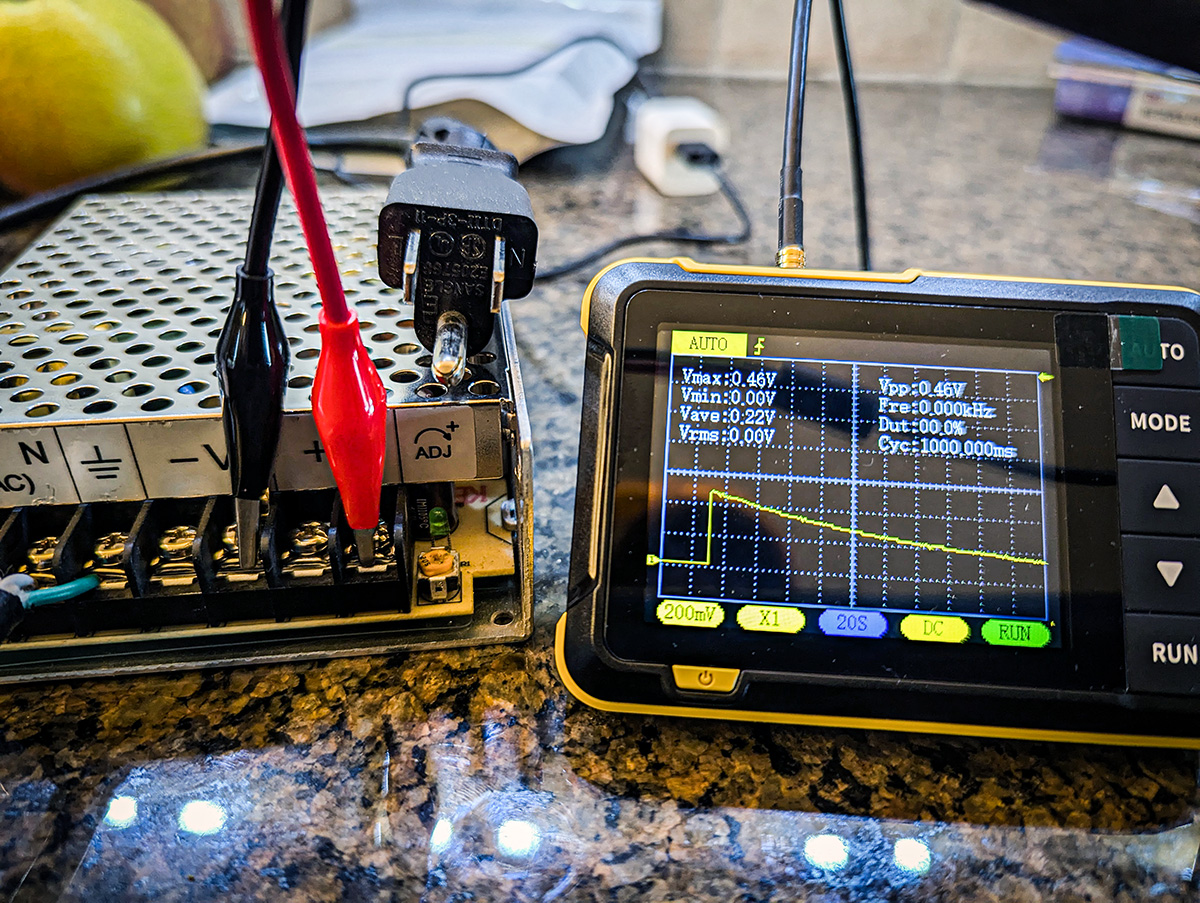
Image: Lemmy.
Let’s get the cons out of the way first. First: the leads. The ones in the box would work for many common automotive uses assuming they were pretty low in terms of voltage. (Pete called this shortcoming a mile off—as soon as he saw the ‘scope.)
Also, the leads form a Y. The total length is only about 20”, and the individual sections won’t spread past about 10” or so, so I’d say this is the Achilles’ heel of this scope. Most scopes use pretty common BNC connectors. This little guy, however, accepts a tiny connector I had to look up: the MCX. In fact, if you get the fancy-lead version of this tool it comes with a fruitcake MCX-to-BNC adapter I’ve never seen before. I’m also pretty sure this connector ain’t gonna live a long and happy life, as there is no support for it. But hey, it’s thirty-some bucks. If you bust it, get another unit.
One thing I wasn’t aware of when I purchased is that the company that makes this sells a different kit that includes a high-voltage lead. So yes, the unit is capable of dealing with the 400V it claims, but you need a different lead to make that happen.
As it so happens, the alternate unit costs just five dollars more. I think it’s a bit of a false economy to opt for the cheaper version. Here’s why.
You probably can’t find a compatible high-voltage lead after the fact and buying one wouldn’t make sense given the cost of the unit. Buy the fancier one! Why am I so emphatic about this? Well, you may have good reason to check higher voltage systems. Heck, you may want to work on 120VAC electrical equipment in your shop and at home, but the included leads won’t handle 120VAC. The sine wave flat-tops and you can’t actually see the waveform. No bueno. Once I picked up the high voltage lead, I could get a perfectly visible 120VAC sine wave to show on the scope.
Next gripe: there is no means to export information. No screengrabs, no recording of data. So handwritten notes or a cell phone shot is the best you’re gonna get. At the price point, this seems very acceptable to me.
Another minor niggle is that this is a single-channel scope. It’s obvious and it’s not a knock against the unit, but my guess is as a professional tech, you’d be better served by at least a two-channel. Off the top of my head, a two-channel would allow you to do a few things you might want your scope for:
But that costs more, both for the capability and the additional test leads. This scope is a single channel and entry level. That’s plainly stated and also completely acceptable given the price point.
So now let’s talk about what I liked, because that outnumbers my complaints by a pretty wide margin.
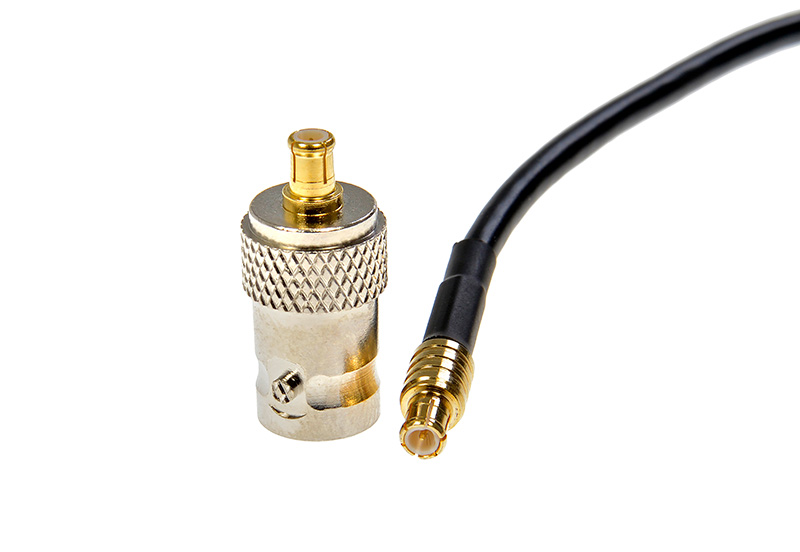
Image: Mike Apice.
This little thing is reasonably easy to use. I’m sure it’s not lab-grade in terms of accuracy, but we’re fixin’ cars here—we don’t need top-tier electronics analyzers most of the time. To me, it offers two benefits that make it an absolute category-killer and a home run for most auto mechanics.
The first standout benny is the price. $36 if you get the fancy-leads model. That’s cheaper than used equipment. It’s way cheaper than the huge Sun analyzers used way back when. It’s affordable even on lube-bay pay. Couple this tool up with some training and you’ll grow diag muscles you didn’t know you had. The more you use it, the more ways you can think of to use it. As far as I am concerned, if you buy one of these and outrun its modest capabilities, it did its job—it got you into a scope and using it enough to test the boundaries of what it can do. That said, this is enough scope for most of the work requiring something better than a meter.
The second benefit? The form factor. It’s almost perfect for the flexibility those of us in the auto repair industry need. This tool is both physically small and it has a rechargeable battery inside. This thing is the same size as the deck of smokes in your pocket. Unlike a traditional scope, it easily can go under the hood or under a dash, and since it’s cordless, there’s virtually no setup time: point and shoot. Add in a few T-pins or wire to scab in to check circuits in operation and you have a suuuper compact scope setup for no money at all.
The DSO152, to me, is some of the cheapest tuition to self-guided electrical education I’m aware of, assuming you already know your way around a DVOM. It’s not as appropriate for anyone who already has a nicer o-scope, nor is it going to be great if your scan tool or your shop’s has one built in.
For everyone else? I think you’d be hard-pressed to go wrong with the DSO152. By the time you read this, I’m certain I’ll have a better scope and mine will wind up in the hands of friends who don’t yet have one.
And that’s one of the highest marks I can give a product.
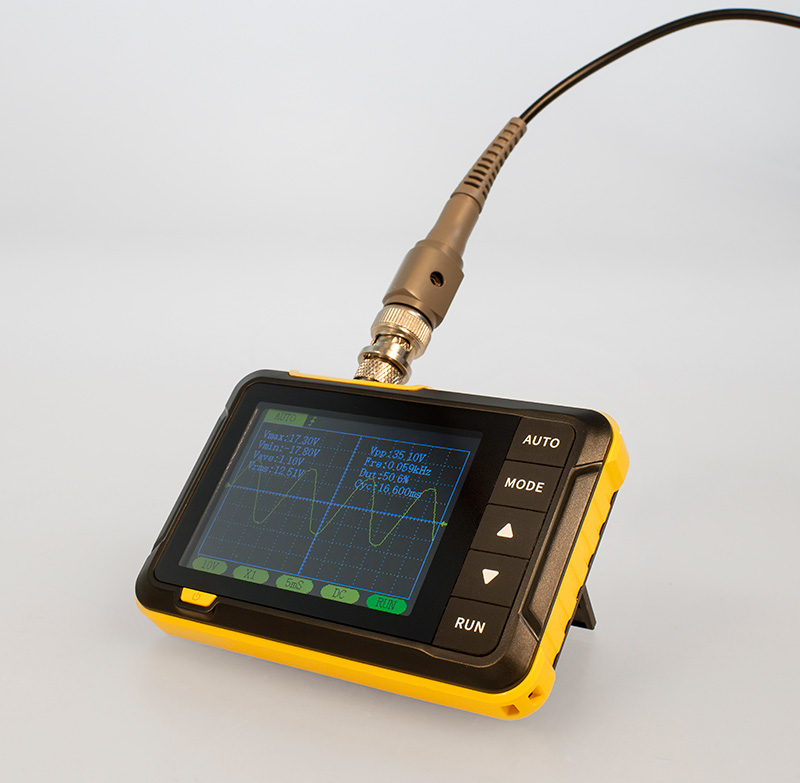
Image: Mike Apice.
The articles and other content contained on this site may contain links to third party websites. By clicking them, you consent to Dorman’s Website Use Agreement.
Participation in this forum is subject to Dorman’s Website Terms & Conditions. Please read our Comment Policy before commenting.