Don’t try to (needlessly) upsell me.

Writers, Print Vehicle Service Histories for Every Vehicle
read more
Don’t try to (needlessly) upsell me.
When your work involves automotive electronics, you’re bound to encounter DIP switches at some point. Experienced techs will know that DIP switches enable multiple configurations for a single electronic component. In simpler terms, different switch combinations make the part do (or fit) different stuff. But even seasoned pros might not know why these little marvels are called DIP switches, or how some smart electrical engineering allows some parts to adapt to different situations, like automotive chameleons.
Let’s get right down to it: DIP is short for “dual in-line package,” which is to say that an electrical component was designed from the get-go to serve multiple distinct roles. It’s like two (or more) parts in one! Additional switches add more applications, and sometimes, you’ll find an entire row of DIP switches hiding inside or behind a part. But why not make the physical switches accessible once installed, or via settings in the vehicle’s user interfaces?
That’s because DIP switches are “set it and forget it” components. The proper switch position(s) determine the part’s function from that predetermined set of architectures. Anything the vehicle operator or technician would need to change or adjust within that part’s system will be “downstream” of the DIP switch, and that’s by design. In most cases, only one combination of DIP switch positions will enable the part to function correctly, or function at all!

It’s not hard to see why this appeals to vehicle manufacturers. A single part can be made to work across multiple models, option packages, markets, or even brands. Instead of producing and storing many parts, consolidating to a single adaptable design offers plenty of benefits. The automotive aftermarket uses them, too. You may have installed a climate control module, for example, which shares its external design with a zillion different submodels, but requires the right DIP switch combination to communicate with the HVAC system’s electronics.
DIP switches rarely play a role in diagnostics unless a DIP-equipped part was installed without referencing the manufacturer’s switch position table. A DIY customer or beginner tech could easily miss that step entirely, and tracking down the issue could be a real wild goose chase if your diagnostic process does not include confirming the switch positions. Symptoms aren’t limited to zero functionality. The affected components might work partially, or they might seem “flipped” as though it was Opposite Day!

A final word of caution: be gentle when setting DIP switches. They are small, plastic, and intended to be moved just a few times in their service life. Only apply as much pressure as you need to fully engage the switch. Believe it or not, there are special “DIP switch pusher” tools out there for this exact purpose, but you’ll be fine with a steady hand and your smallest trim stick. Or would that be a … DIP stick?
The articles and other content contained on this site may contain links to third party websites. By clicking them, you consent to Dorman’s Website Use Agreement.
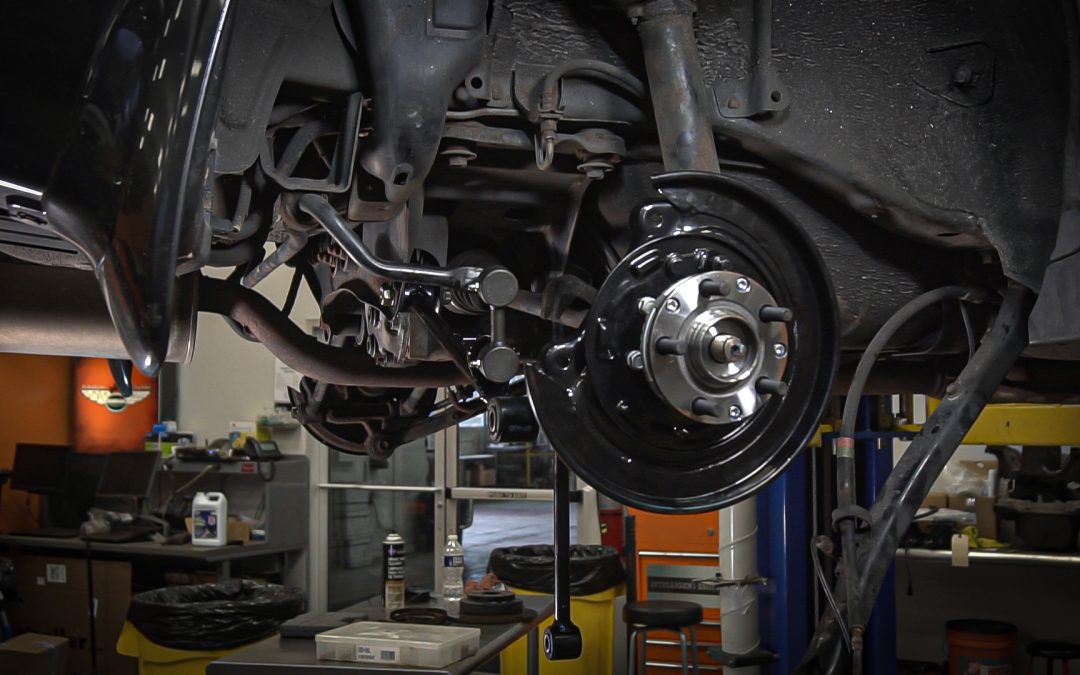
Loaded knuckles streamline wheel bearing and suspension repairs to help shops boost efficiency and profitability.
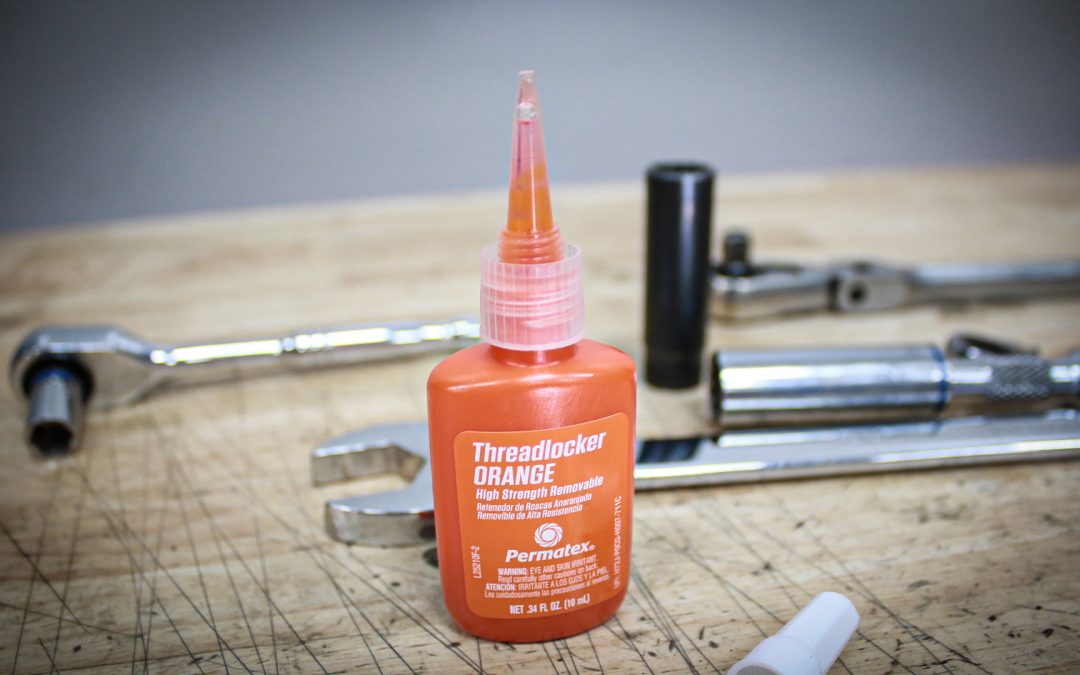
Can there be one threadlocker color to rule them all?
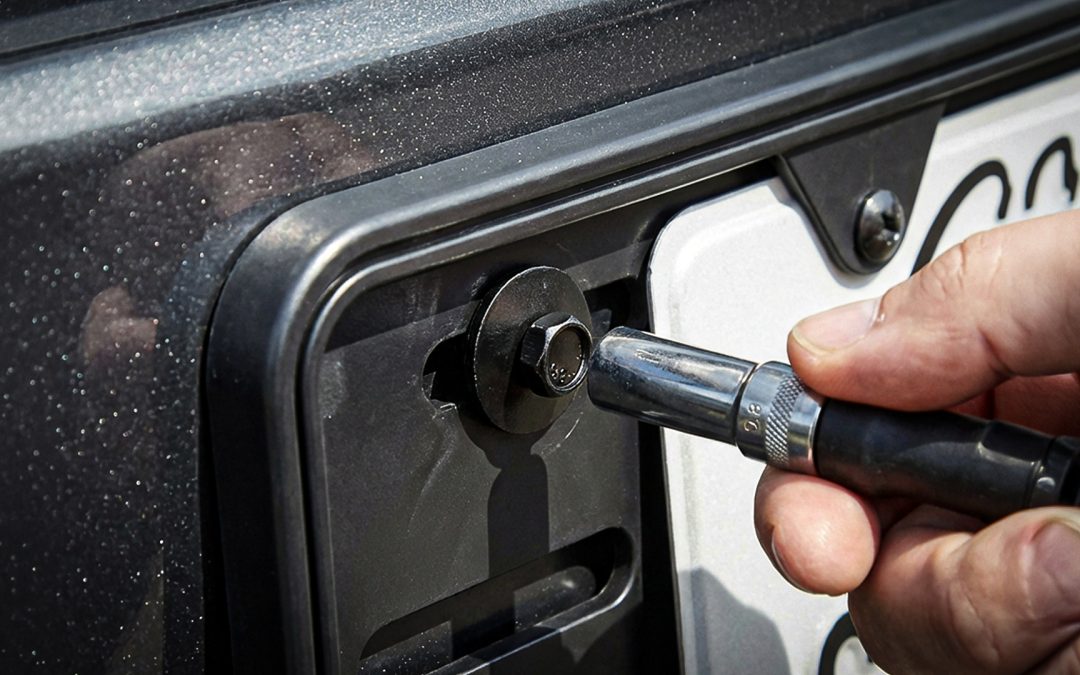
When it comes to threaded items, wrong is right. Or is it left?
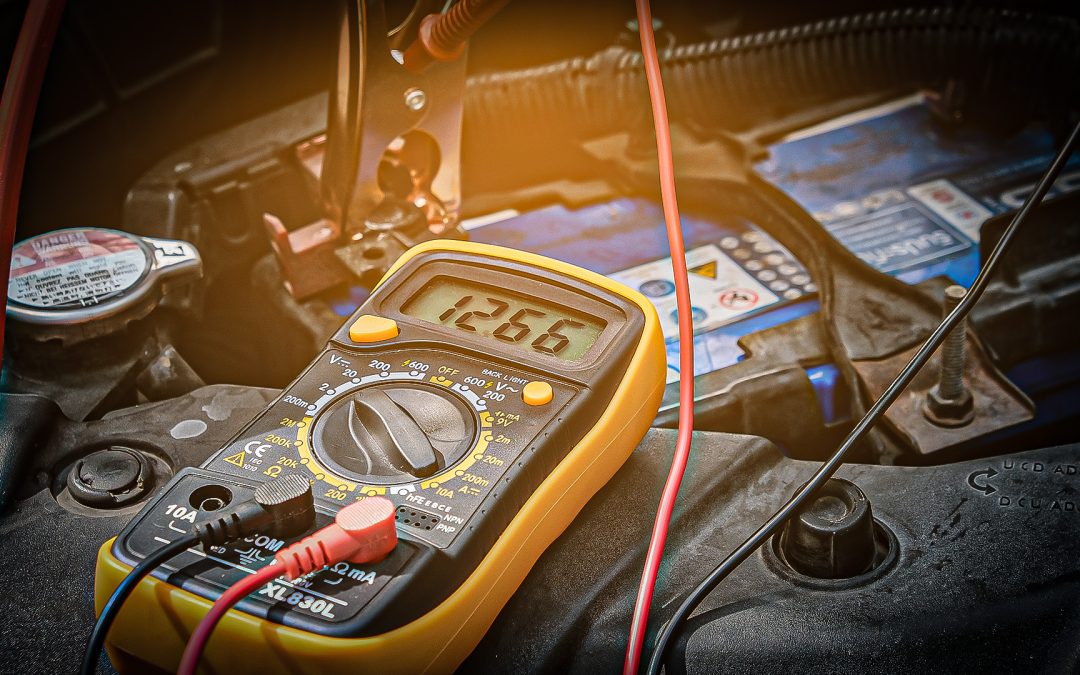
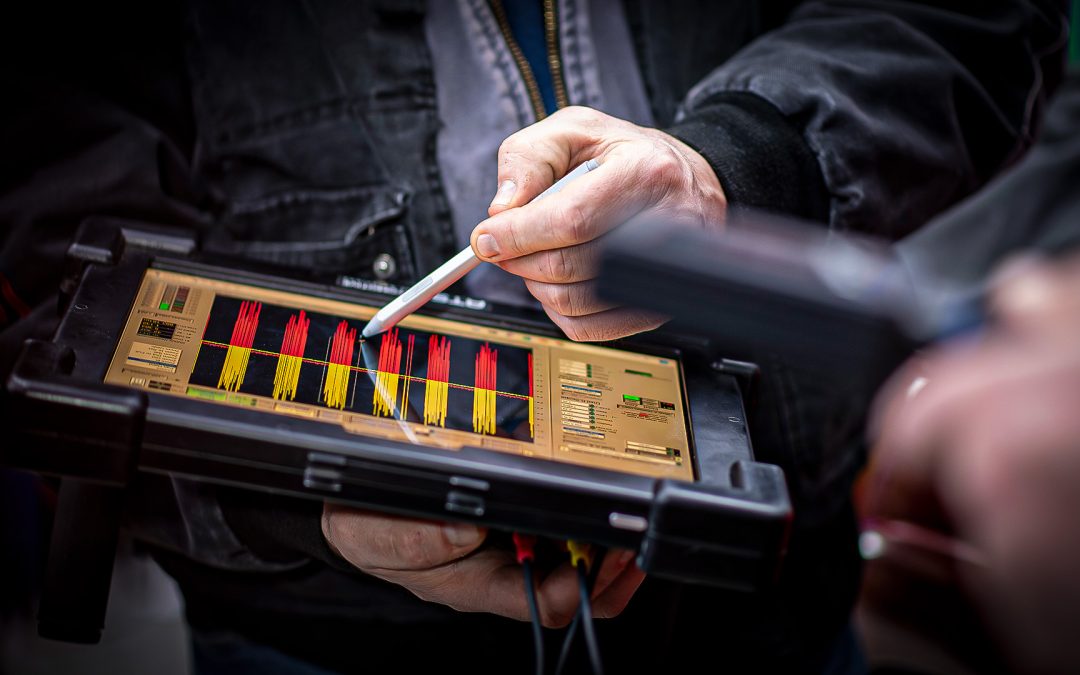
To reach a successful diagnostic conclusion, you have to follow the right diagnostic path.
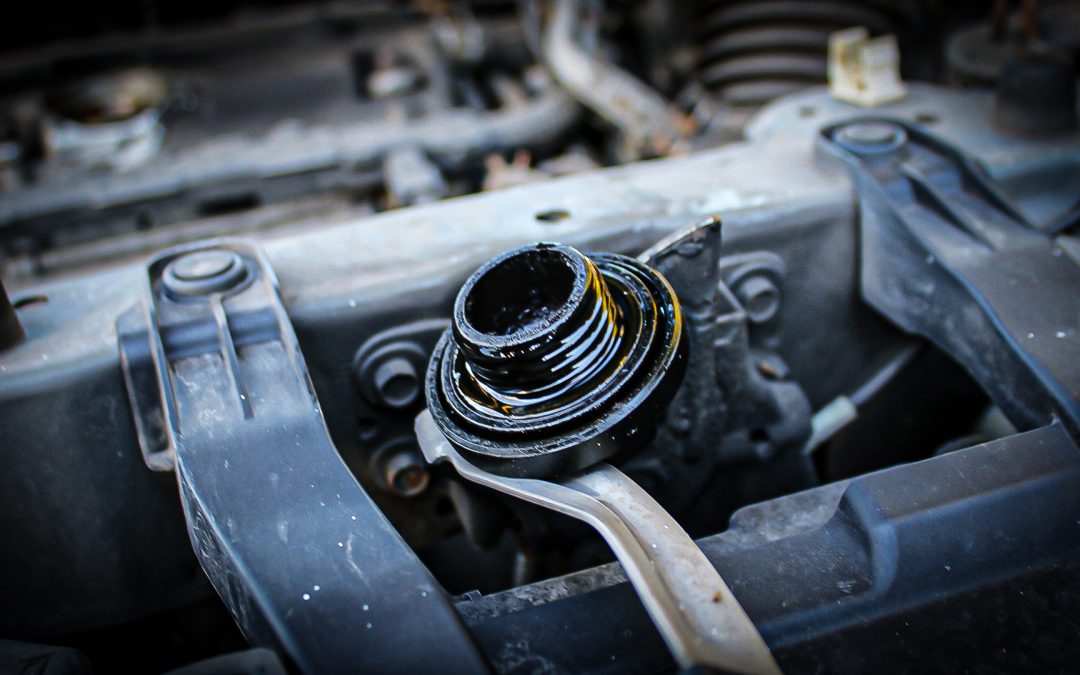
A bent dipstick and a broken oil cap are lucky indeed!
“System lean” diagnostic trouble codes are among the top 10 codes faced by techs.
Participation in this forum is subject to Dorman’s Website Terms & Conditions. Please read our Comment Policy before commenting.