If you have to have them in the shop, endeavor to make politics polite.

Politics Ain’t Politic
read more
If you have to have them in the shop, endeavor to make politics polite.
As vehicle electronics become increasingly complex, the humble memory saver tool has gone from a convenience to an absolute necessity for maintaining power to vehicle systems while the battery is disconnected. Memory saver tools have changed over the years, too, and choosing the right tool for your application can be tricky. Let’s take a closer look at the basic functions and types of memory saver tools on the market today and the best use cases for each.

Photo: Mike Apice.
When a vehicle loses power during battery removal, a dead battery situation, or a simple battery terminal cleaning, the loss of power can cause the vehicle to “forget” information like the time for the dash clock, radio presets, seat/pedal/steering wheel settings, and more. Resetting the infotainment and ergonomics can be annoying (or impossible, if you’re a mechanic and don’t know your customer’s favorite settings by heart), but that’s not the only information that can disappear when the vehicle loses its connection to the battery.
Dorman Training Center instructor Pete Meier warns that for many late model vehicles, disconnecting the battery without a memory saver tool can cause all kinds of chaos with a wide range of vehicle systems and functions. Specifically, they can be initialized or coded, and you may need to recode the battery to the vehicle, use a factory scan tool, or complete a relearn procedure to fix errors and restore functionality.
“For example, on my wife’s Scion, the sunroof has to be relearned,” Pete explains. “In others, the idle speed may need to be relearned, The door windows on some Stellantis cars won’t work and the odometer will read “error” until it’s corrected with a factory scan tool or equivalent. These are just a few examples.”
Most DIYers won’t have the necessary tools or resources on hand, and some techs might not even have them! However, most vehicles will have service information available to get you pointed in the right direction. It’s best to complete this research before disconnecting the battery to avoid headaches later on.
After a vehicle’s ECM loses power, it can also lose info learned after miles of driving. That information helps the ECM to keep vehicle systems running smoothly. Without this data, it’ll be like starting from scratch, and drivability may suffer until the ECM has enough time and miles to relearn those parameters. This can affect drivability or even I/M readiness.
Although these issues can be resolved when a battery is removed without using a memory saver, it’s a lot easier to avoid these problems entirely with the right tool for the job. Always check manufacturer recommendations for battery swaps. You’ll probably find specific directions for this exact job, neatly sidestepping guesswork and wasted time.
If you’re any kind of professional wrench, you probably know how to use these things, but if not here’s a quick overview.
Memory saver tools are for battery swaps only. They should be used for just a few minutes at a time to minimize risk of electrical damage. First, access the vehicle’s battery. Next, connect your memory saver tool. Turn the ignition off, remove the key, and close the doors, remembering to keep the driver’s side window down for access just in case. Ensure that there are no interior/exterior lights, displays, or other signs of life still using power. Remove the positive and negative battery cables, install the battery, and then disconnect the memory saver before starting the vehicle. Remember that the positive battery cable is “hot” while the memory saver tool is connected, so be sure to insulate the positive cable terminal from any accidental connections while making the swap. After installing the new battery, confirm that the vehicle’s memory was not affected before continuing or concluding your work.

Photo: Mike Apice.
Memory saver devices come in a few different flavors, but all of them have the same basic purpose: delivering auxiliary power to the vehicle in the absence of the battery. Here’s a quick rundown of the most common variations you’ll see.
In the past, a common battery saver device was simply a 9V battery with an adapter to plug into the cigarette lighter socket. This type of device was fine when the only settings needing saving were dash clocks and radio presets, but the humble 9V memory saver has fallen out of use for a few reasons. First, a dinky 9V is too weak to power modern 12V vehicle systems. Also, it’s not common for today’s cigarette lighter sockets to have power with the key off. (That’s assuming the vehicle even has a cigarette lighter socket, which is an increasingly rare feature on today’s vehicles.) If you still have one of these tools, save it for Pappy’s antique pickup, not customer vehicles.
Verdict: Skip it
One of the most popular ways to supply memory-saving power to the vehicle is through the Diagnostic Link Connector (DLC) on OBDII-equipped vehicles. The DLC plug units take advantage of standardized OBDII pins to supply power even with the key off. That’s a handy way to connect auxiliary power, but you’ll need to research OE guidelines before stabbing a memory saver into the DLC, even though this seems like a very simple task. For example, some BMWs will blow a fuse if power is connected to the DLC, and the offending tech might need to deal with a fresh set of fault codes with an appropriate scan tool.
These tools are a good choice for the majority of modern vehicles, although they obviously do not work on pre-OBDII vehicles. Today’s tech should have one of these on hand.
Verdict: Get it
Another time-tested memory saver is a simple auxiliary 12V battery with small jumper cables. Simply connect the cables to the battery cable leads, then disconnect the main battery for uninterrupted power to the vehicle. On vehicles equipped with jump posts, you can also use those points to make your connection.
While connecting an auxiliary battery with small jumper cables is convenient, it does carry some risk of sparks, so use caution when connecting and disconnecting power. Also, the jumper cables and clips should be secured to prevent accidental sparking.
Verdict: Get it
While certain jump packs/boxes, power supplies, and battery charger/maintainers can also be used for this purpose, you’ll want to confirm their suitability before connecting to a customer vehicle.

Photo: Mike Apice.
New to memory saver devices? Here are a few things you should know before getting started.
With a DLC plug unit and a reliable method of supplying power directly to the battery cables, you should be able to handle battery changes on any vehicle in your bay that uses a 12V system. A reasonable investment and a little practice should be all you need for hassle-free battery jobs and happy customers.
The articles and other content contained on this site may contain links to third party websites. By clicking them, you consent to Dorman’s Website Use Agreement.

Technician A says other codes should be diagnosed before replacing the converter for a P0420 code. Technician B says an upstream exhaust leak can trigger the code. Who is correct?

Cylindrical? Not really.

Technician A says cabin air filters protect occupants from 200+ contaminants, while Technician B says they protect the evaporator core from blower motor particles.
Find out when plastic intakes go bad, and why you should or shouldn’t replace one.
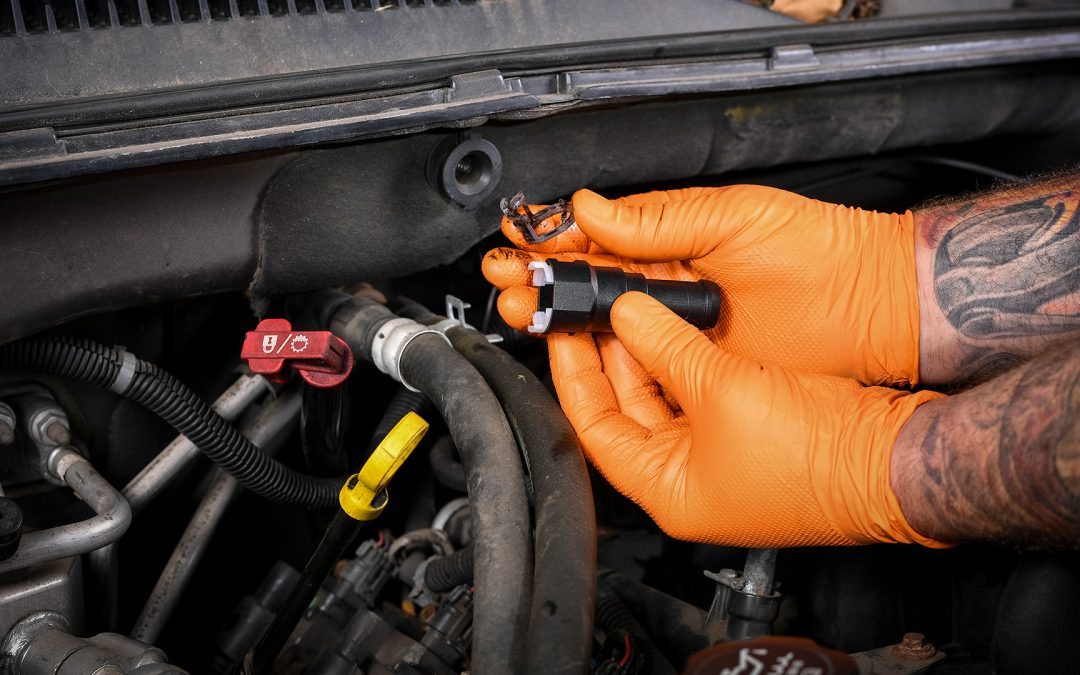
Quick disconnect tools are a must for modern fuel, A/C, or transmission line jobs; no more fighting clips.

Technician A says chirp is the most common belt noise complaint. Technician B says EPDM belts can wear out without showing visible damage. Who is correct?
Participation in this forum is subject to Dorman’s Website Terms & Conditions. Please read our Comment Policy before commenting.