Using your shop’s Cost of Doing Business (CODB) as a baseline for labor rates.

One of the most talented mechanics I know observed me struggling with damaged threads and dispensed an opinion: “Stripped thread repair is one of the most basic skills everyone should know how to deal with.” That’s not revelatory. However, when I pronounced the part I was working on junk, he made a complex thread repair that at the time, to me, bordered on art.
I still have the part. It hangs on the shop wall in a position of honor as an admonition that I have two ears and one mouth and I should use them in that ratio, but it also serves as a constant reminder of the importance of threads in the daily work of a mechanic. Think of how many miles of threaded items you’ve turned over the years, how critical their applications, how meager their maintenance. Threads (and the fasteners on which they reside) are literally holding the vehicles together.
Thread repair can be one of the most difficult tasks in all of auto repair. I’ve gotten much better at it with practice, but I’d like to present a few products and practices that have helped me. But first, let’s cover why there’s such a wide spread of skill levels on this type of work.
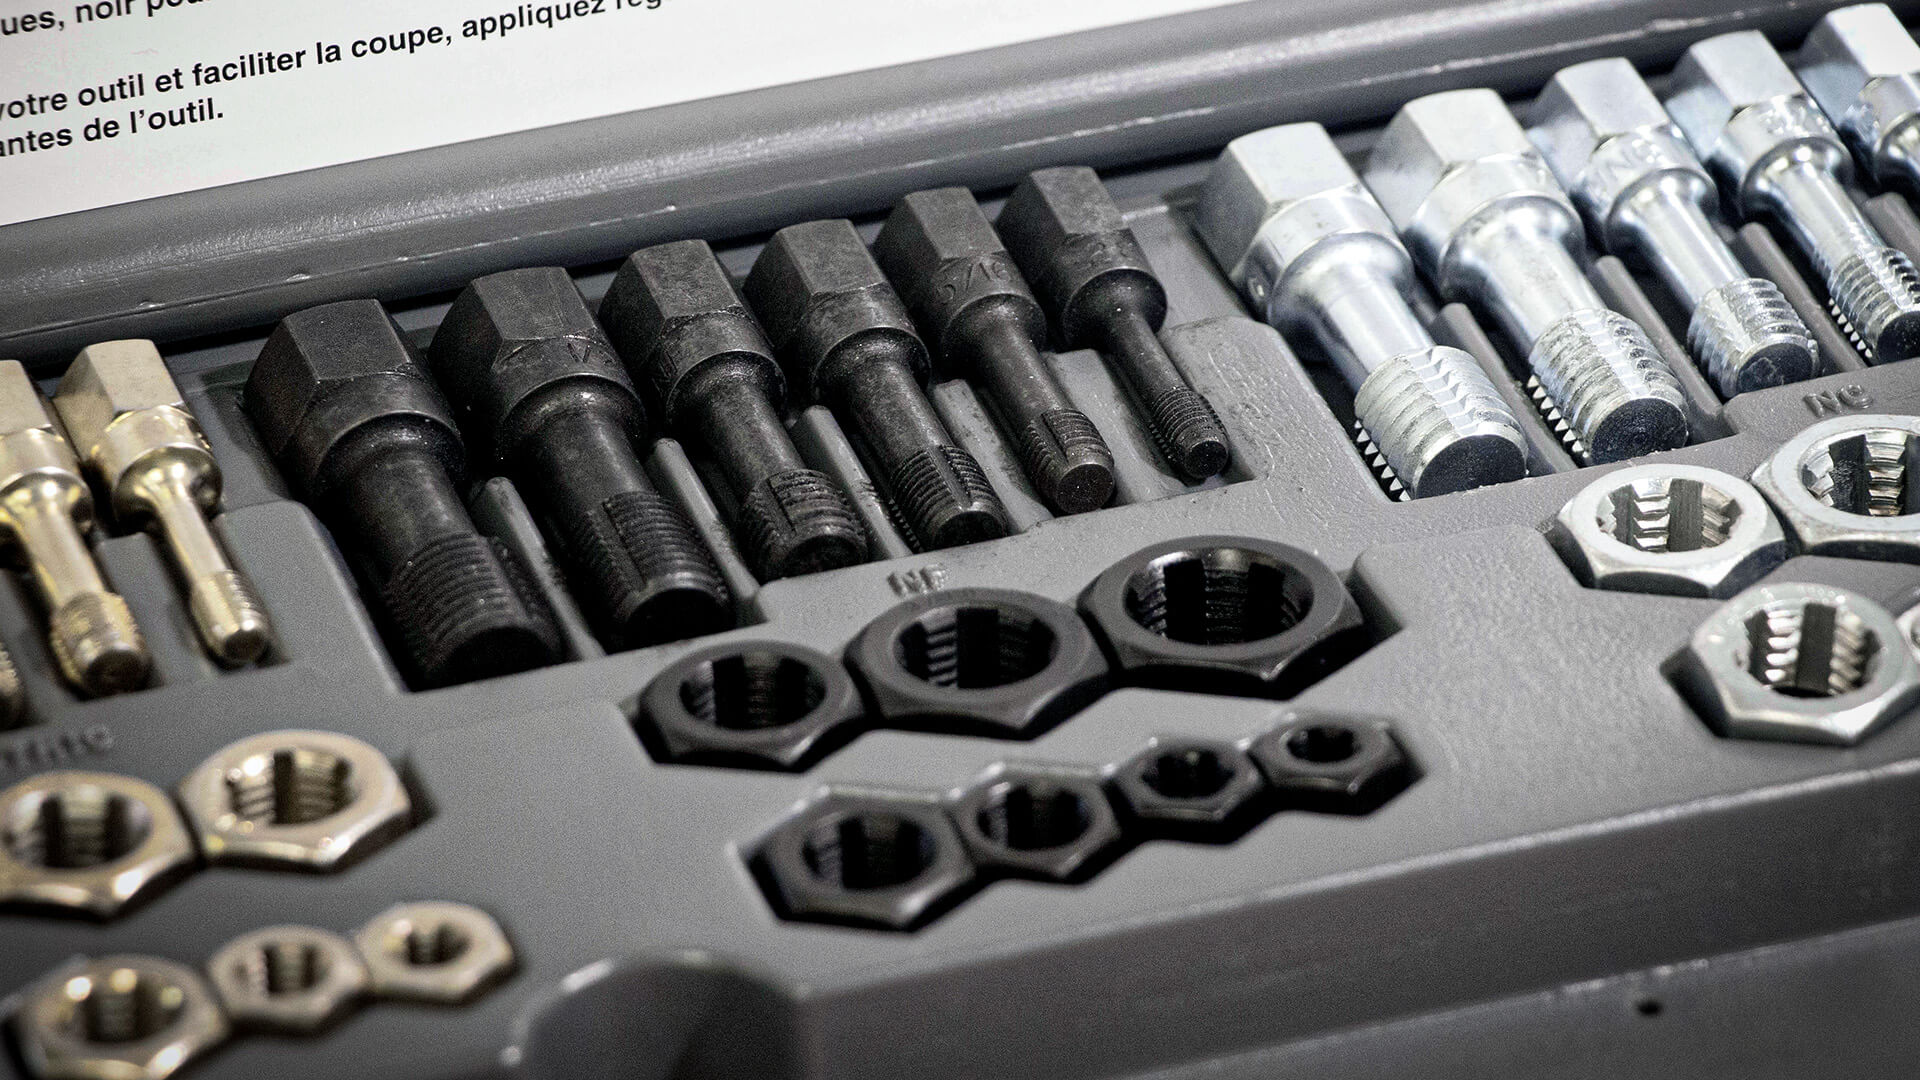
Repairing threads isn’t always an option, but when it is, it’s a pretty good one. Make sure you have the tools to do it well. Photo: Lemmy
Thread repair is not typically within the realm of common repairs for an auto mechanic. I mean, obviously we all need to know how to handle it as my mentor stated, but it’s difficult knowledge to acquire. Factory manuals don’t cover it. Most technical schools don’t, either. Nor is thread creation and repair really the focus of most adult education courses like welding or machining.
Threading operations are often the domain of the tool and die maker, a dying trade in this country. It’s related to machining, but it’s focused on creating tooling in a toolroom rather than production. Unfortunately, thread repair, especially on an item that is in situ, can be especially difficult, and most machining texts don’t account for poor tool access.
Many mechanics are not well-versed in threading operations for the same reason they’re not proficient welders—this is more the domain of the fabricator than the repair mechanic. Don’t feel bad if this isn’t your strong suit. I’m not a trained machinist, though I practice making chips fly when I am able. Remember, if you can get the subassembly free from the vehicle, you’ll often be money-up to bring the workpiece to a professional. There’s no shame at all in knowing the limit of your capability.
To me, the first step in repairing threads is assessment of the damage. Obviously damaged threads in female parts are handled differently than their male counterparts, but there are other considerations to factor into your repair plan.
Oh yeah, you want a plan. You need a plan. Walking willy-nilly into this mess is a great way to make more work for yourself. Some things I like to figure out before I open my toolbox include:
Whenever a repair goes awry and the service manual no longer is in play, I generally try to use an escalation of force, if that makes any sense. So in a “damaged threads” scenario, I’ll attempt to first salvage existing threads, and only if that doesn’t work do I look into overboring and cutting operations. Sometimes you must move to a drastic final step right at the beginning. Remember, though, that if you make several attempts in the correct order, you have given yourself multiple chances to engineer a repair that works. Personally, I like them odds better.
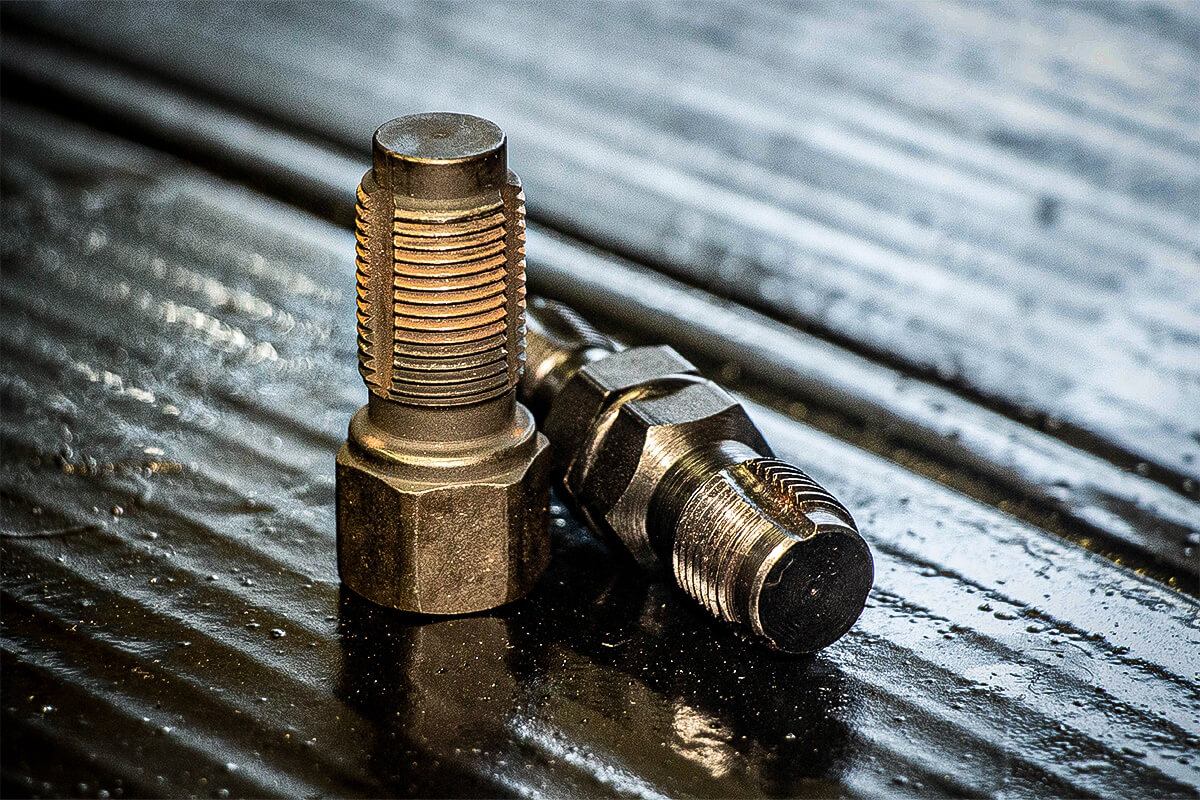
If you’re on a budget but want to try some of this stuff out, you can’t miss with one of these. The chasing tool on the left is M18x1.5mm and features 3/8” square drive. I’ve used these many times to renew threads for lambda sensors. (I’m probably on my third one!) The one next to it is double-ended and has much tighter tolerances. That one is perfect for touching up spark plug holes and aluminum oil drain pans. Photo: Lemmy
I want to run through a few items I’ve been introduced to over the years. A master of anything I am not, but I have a lot of very intelligent, talented people who have helped me, and many of them have introduced me to these helpful items.
At the risk of telling you something you already know, sometimes hard-threading fasteners are corroded or just plain dirty. A quick trip to the wire wheel (or to the vise with a brass-bristled brush, say that five times fast) can make a world of difference. For added variety, add lubricant to taste. Being low on the “escalation” scale mentioned above, if this doesn’t work, no harm, no foul.
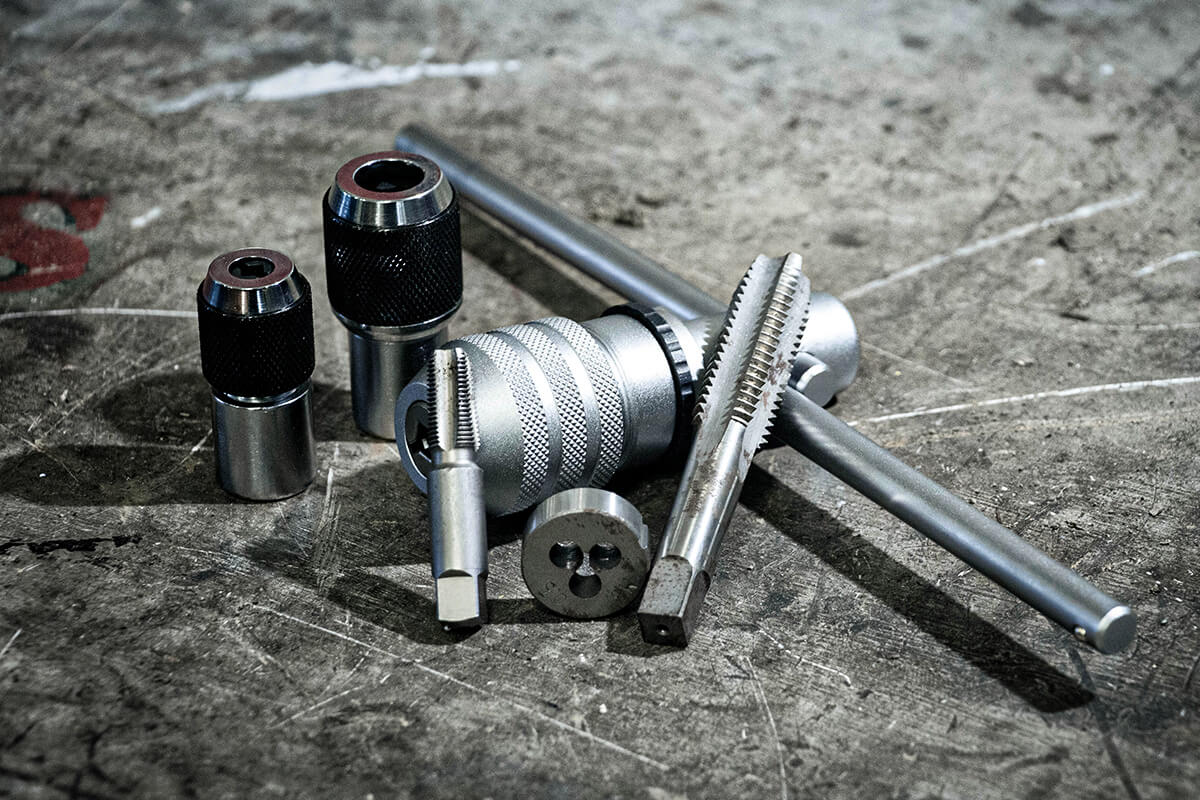
A modest handful of specialty tools can make good thread repairs a reality. Photo: Lemmy
Thread files are an excellent initial repair tool in some scenarios. They are, effectively, a file the shape of which mimics the correct thread pitch and angle. While I am sure there is some magician out there who can use these babies in female threads, I have found them helpful for male threads, specifically on large fasteners with damaged sections that aren’t within the leading threads. (On large fasteners, a die may not be easy or affordable to acquire.) I’ve had good luck “sneaking up” on the damage by getting the file to run in the good threads as it restores some of the damaged ones; that way I know the metal is being removed from the right spots.
If these are something you’d like to explore, you should know split dies exist, too, that work similarly. The file is a little more universal, though—usually a metric and SAE will take care of most fasteners you’ll see in common service.
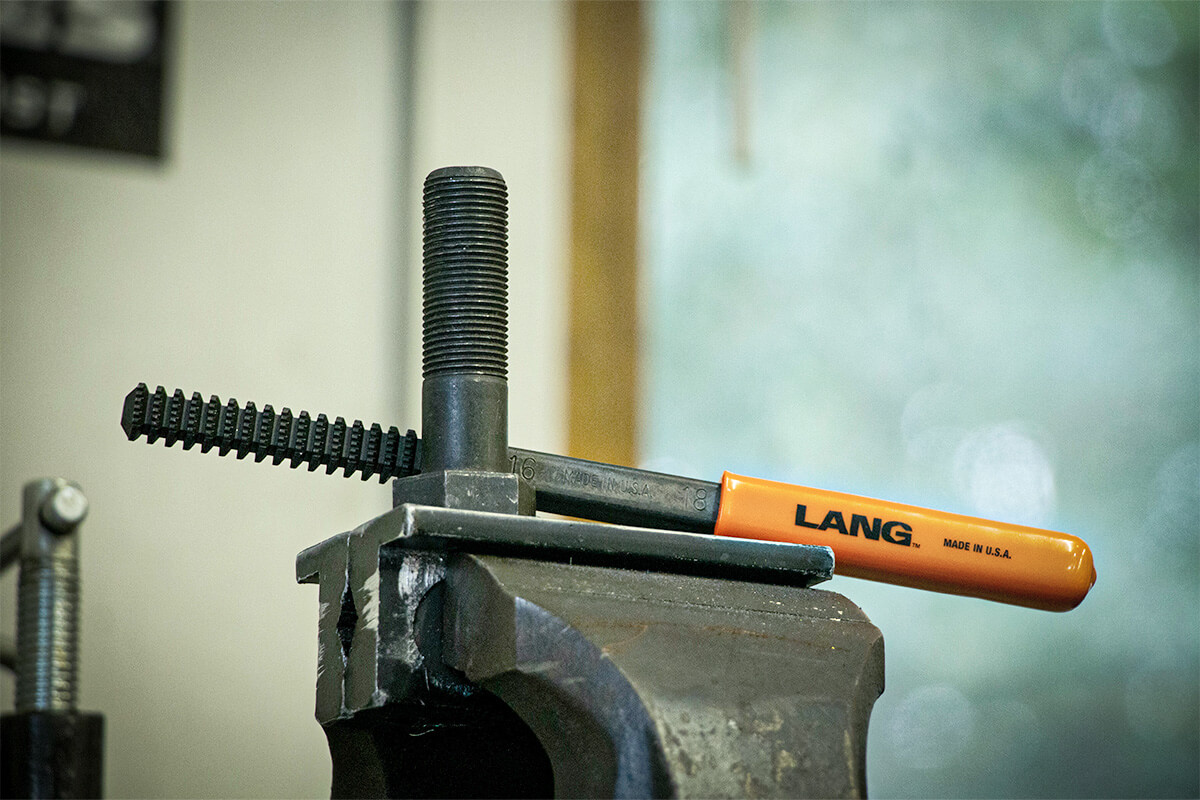
On large diameter threads, a thread file, a vise, and a good attitude will go pretty far. Large diameter taps and dies are prohibitively expensive. Photo: Lemmy
Especially when tool clearance is limited, a standard tap handle or die handle needs quite a bit of room to operate. (They also usually operate like a pin vise, and sometimes can feel not-very-positive on lower-end tools.)
The ratcheting tap handle permits the requisite 360° rotation required to cut threads, but they can be cut without that much rotation like a standard tap handle.
You might want to skip this purchase if you have the next item on my list.
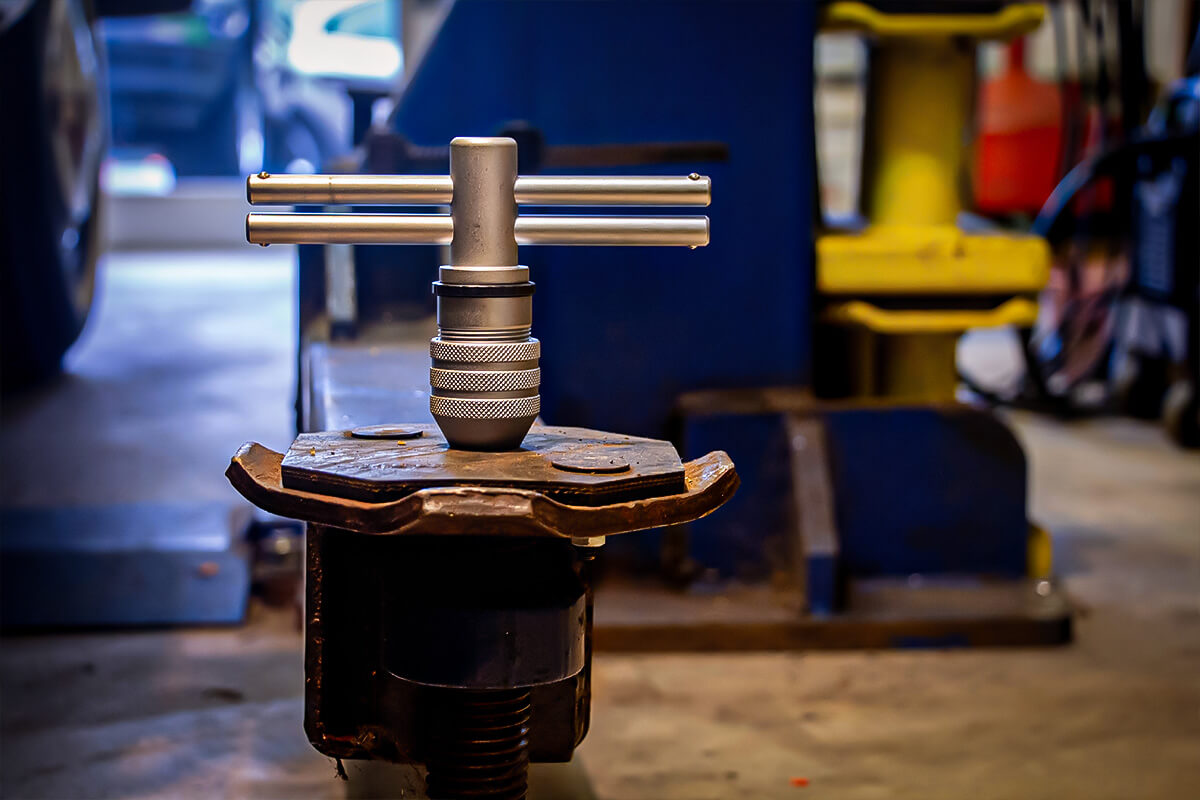
This ratcheting tap handle is the bee’s knees. Once I tried one, I never picked up the junky ones in the kits again. Photo: Lemmy
Tap sockets are particularly helpful for avoiding that angular rotation issue mentioned earlier. They’re effectively a tap-holding implement that allows you to use standard square-drive tooling you already own to run ‘em in.
In addition to the benefit of the reduced swing, the tap socket allows you to use extensions, creating axial distance, too. Ironically, that ability can often mitigate the need for something that can operate with reduced tool swing.
You can buy individual sizes or sets. (You can also try your twelve-point sockets in a pinch. It works, but the 60-degree corners are obviously not the same as the 90s on your taps.) I picked up a set of modestly priced adjustables (just two cover most taps I own) a few years back and by now, they definitely don’t owe me any money.
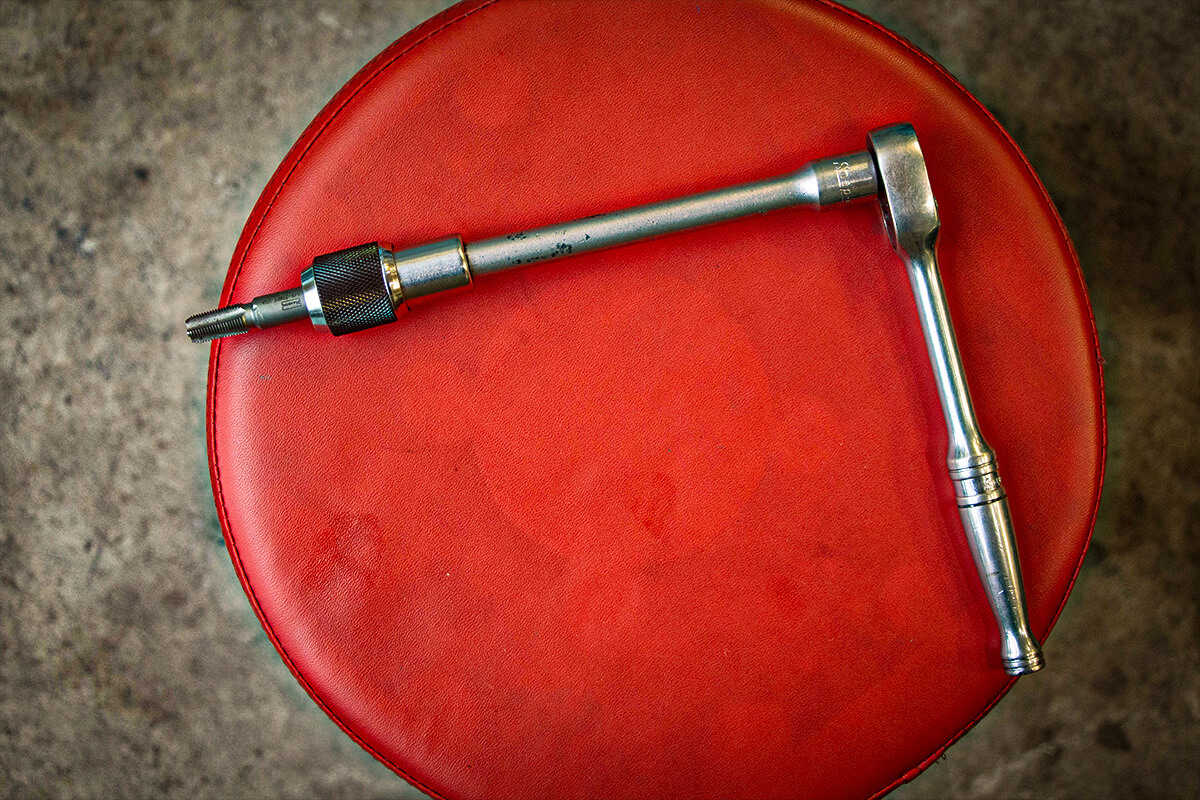
Tap sockets let you use tooling you already own and operate regularly. Photo: Lemmy
Taps and dies are designed to cut threads, of course. To do so, they have sharp edges. Most common taps sold for general use are plug taps, which have a bit of a taper to them, as do corresponding dies. Thread restorers (sometimes casually referred to as thread chasers) are a bit different. The taps are almost like a blunt bottoming tap, in that there is little to no taper, and the threaded section isn’t sharp. The idea here isn’t to remove metal as standard taps and dies do, but to move the metal. These tools push the metal back where it came from; they re-form (restore!) the threads. A set is very handy in a service bay!
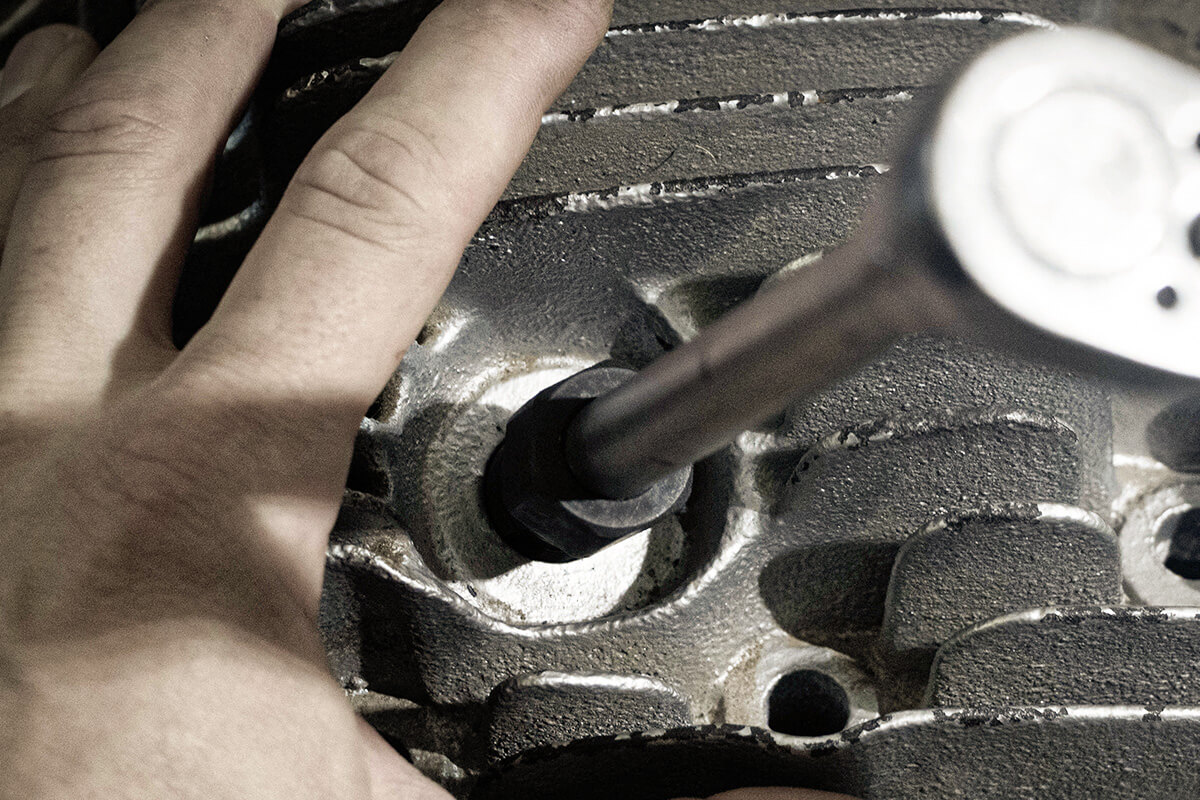
Restoring threads is the only way to go when new parts aren’t an option. Photo: Lemmy
I don’t know why this stuff works so well, but it makes cutting threads a breeze, and really extends the life of the tools. I don’t even know how they stay in business; a can of Tap Magic will last you several lifetimes of hole creation, threading, and rethreading.
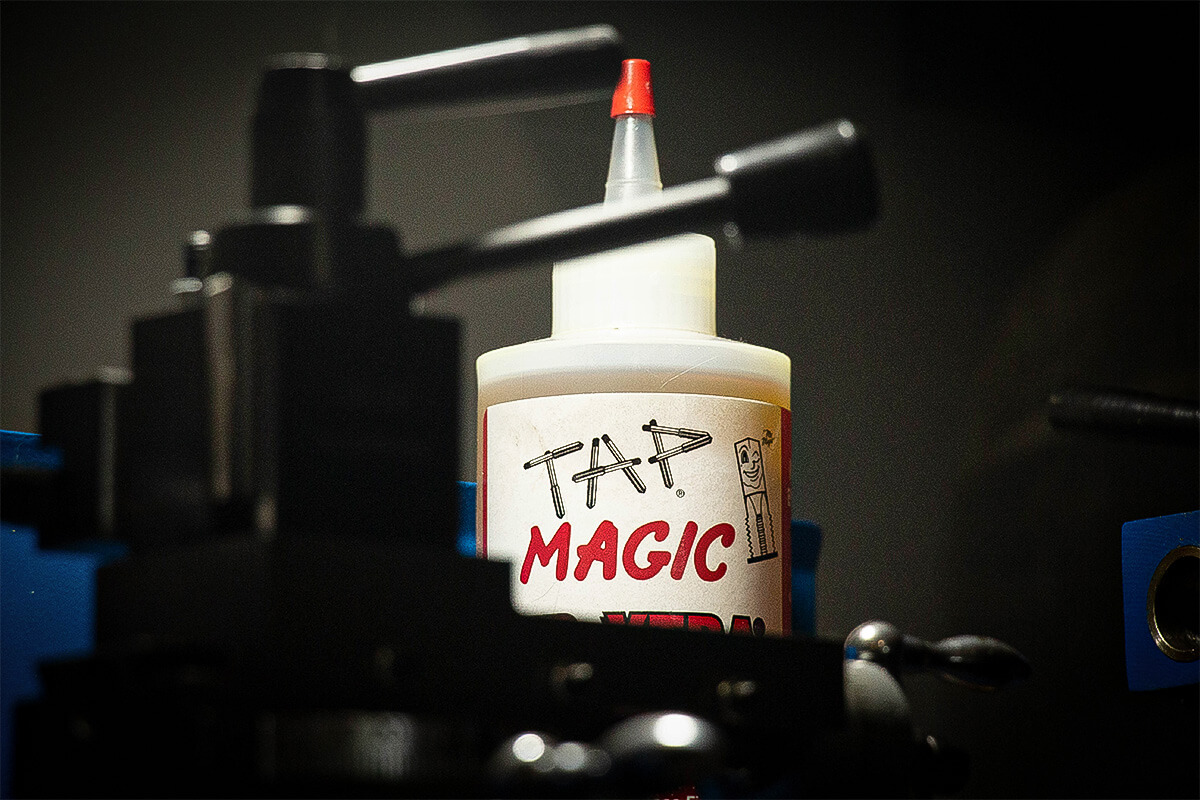
A drop of oil saves tools, time, and threads. Photo: Lemmy
Try a few of these tools out if you bump into them at the flea market—with the machine trades dying, they can often be had for a song. And if you’ve got any tips, throw them in the comments section—I’d rather take a lesson than learn the hard way, and most every technician I know feels similarly.
The articles and other content contained on this site may contain links to third party websites. By clicking them, you consent to Dorman’s Website Use Agreement.
Participation in this forum is subject to Dorman’s Website Terms & Conditions. Please read our Comment Policy before commenting.