Don’t try to (needlessly) upsell me.

Writers, Print Vehicle Service Histories for Every Vehicle
read more
Don’t try to (needlessly) upsell me.
“Oh, and it’s pulling to the right a bit. Can you check that out?”
If you run a small shop with just one or two service bays, it’s likely you’ve heard this before, since in a small shop the service writer, mechanic, foreman, parts department, and lube tech are often the same person. It’s also likely you either explain you farm out alignments or send the customer down the road to the shop directly because, well … you’re a one- or two-bay shop, and an alignment rack is probably outta the question.
But that can change. Especially if you’re working on the side (moonlighting), working at the side (of the track), or working outside (on the trail, replacing busted steering bits, or maybe by the barn with the tractor), there’s a pretty low-tech solution that’s been in play for many years: the string alignment. “Set the toe and let it go” isn’t just the motto of the lazy mechanic. It’s increasingly the only real adjustment available on many cars without installing (usually aftermarket) parts. And it’s also a remarkably good reminder that a wheel alignment doesn’t need to be fancy — it needs to make the vehicle handle well and the tires last as long as they can.
The string alignment is not a replacement for having a fancy Hunter machine. This method may not be the best for cars that are choked to the gills with ADAS cameras and such, especially if the cameras are way out of spec. (The cars can usually accommodate a bit of wear. A little bit.) It doesn’t take camber or caster into account. It doesn’t give you the exact series of instructions of what steps to take or how to interpret your measurements, and there is no failsafe; it’s totally possible to get it really, really wrong. It requires good working knowledge of steering and suspension theory and principles of operation, and it does take a little while to sneak up on the correct measurement, especially if you don’t have that fancy four-poster with the turn plates. The string method also assumes that the car’s ride height, caster, and camber are reasonably close to workable, which may or may not be true. And it can get weird if a vehicle has an offset axle and you don’t know about it. (Ford RWD vehicles come to mind.)
On the positive side, performing one of these doesn’t require $135,000 worth of lift, lasers, and machines. You just need a string and a ruler. And something to hold the strings; we’ll talk about that in a sec.
This method has been in use since before paved roads were assumed to be the car’s natural home. It is reliable, repeatable, rooted in principle, and it works well enough that it coined the titular phrase given to this piece. While it may not be the most modern way to align a vehicle, it’s a solid … uh, second string?
For those of you who are green on the red rack, the method effectively involves using some long strings to align the front wheels of the vehicle to the rear wheels. The following video doesn’t encapsulate the complete process, but it should give you a fast mental picture of what’s going on.
Note Sally’s using some helpful tools there: the alignment system and the turn plates. Both are helpful, but they’re also not totally necessary. Jack stands are the time-honored string holders in this humble process, and that’s because we all have a set or three, and they work just fine. You also need some string that can extend several feet beyond the wheelbase of the car. You can get by with one string and one set of stands, but stringing both sides at once is easier.
Effectively, since the rear wheels on most front-, rear-, and four-wheel-drive vehicles are fixed (pay no attention to this, multi-link rear proponents), the fronts can be adjusted to match. Start by inflating tires to spec, then move to centering the steering wheel. You can do the ol’ lap-belt-through-the-steering-wheel trick to retain it, or get one of those fancy tension-on-the-seat devices, or just go low-tech and put eyes on it every now and again to make sure the wheel is still perfectly straight, especially after you get done reefing on a wrench grab on an inner tie rod end.

The old seatbelt-through-the-steering-wheel trick. Photo: Mike Apice.
Next, run one string along the largest part of the rear wheel so the jack stands are adjusted to put the string’s height right through the center of the wheel. The string should be several inches away from the wheels and running several feet beyond the front and rear wheels, maybe about even with the bumper or so. Imagine a parking space that’s floating in the air; that’s what you’re shooting for!
After that, using a ruler, measure the string’s distance from the rear of the rear wheel and move the jack stands port and starboard until you can measure the same distance from the string at the front and rear of the rear wheels. You wanna be pretty accurate here. “60mm” is a good measurement for what we’re doing. “Two, mebbe two-anna-half inches” is not.
Repeat this on the other side. The strings don’t need to be equidistant from the wheels on both sides, but it does save some math when comparing sides if they are.
Once set, these are your “lasers” that constantly shoot “truly straight” up the front wheels (relative to the rear axle, assuming the bushings back there aren’t shot) that you’ll be adjusting. In an ideal world, everything measures out fine. In the world in which we live, it won’t, and you’ll have to adjust the tie rods in or out as appropriate. The car goes up and down a few times, we turn some wrenches, and boom, you’re done!
It’s easy to understand, especially after you see it done. Go hit YouTube if none of this makes sense.

Supplies needed for string alignment. Photo: Mike Apice.
Some finer points were promised, and here they are in no particular order.
The car needs to be on the ground when you measure, and in the air when you adjust. You can fudge a bit with turn plates, but if you measure with the wheels unloaded, your measurement may be off. It’s a car, not a magic carpet. If you try to adjust with the wheels down, you may just be fighting the tire and sidewall. Up to adjust, down to measure. Don’t forget to keep an eye on that steering wheel!

All set up and ready to align. Photo: Mike Apice.
Toe a RWD in a little and toe a FWD out some. If you have the specs for the vehicle, great, use those. If not, know thy toe! Generally speaking, front-wheel drive cars want to toe themselves in under power, so you can give them just a touch of negative toe. Toe in on the RWD will yield slightly crummier turn-in, but that likely won’t be a problem because RWD these days basically means “truck,” not “track.”
Note that a little goes a long way here; we’re talking maybe an eighth of an inch. More toe in either direction can drastically affect tire wear, which is one of the two big problems we’re trying to avoid, remember?
Figure out which way to turn by guessing. Most of us don’t instinctively know what way to turn the tie rod to get the wheel being worked on to move in the correct direction. There’s a low-tech solution to that: give it a few turns and see if the measurement gets better or worse. You can do this one with the wheel in the air since you’re just looking for directional guidance as opposed to hard figures.

Adjusting the tie rod. Photo: Mike Apice.
Measurements are interrelated. The distance from the tie rod end to the spindle, as well as the thread pitch of the adjuster, are small numbers that can compound in enormous ways. Two turns of the adjuster on one vehicle may yield wildly different results on a different vehicle. Similarly, while you will be adjusting only the toe, depending on the front end’s geometry, you may be altering, say, the camber based on where the tie rod is located and how much camber is dialed in (or out).
Note that these statements are also true of other alignment methods, but many of those have handy red and green boxes to alert you that this is happening.
Measure at the rim, but not the edge. The sweet spot for taking a measurement is on a hard part (so the wheel, not the tire) as far from the center of the wheel as possible but not at the rim edge. Why? If the wheel’s taken a curb shot, the dinger itself could give you a false reading. Best to measure from a protected part of the wheel. I will say if you do this type of alignment even occasionally, a set of toe plates is a very, very modestly-priced addition to the ol’ toolbox.

Measure properly. Photo: Mike Apice.
Garbage ain’t garbage. Wanna make some turn plates? Scrap steel works, but you can go super-low budget. Hard floor tiles or trash bags with grease in them, or even some “for sale” signs with some table salt sprinkled between can get you by in a pinch.
“Out of spec” is not equal to “out of options.” Some techs who have been raised on laser setups clutch their pearls over a vehicle that “ain’t quite right.” Remember, we’re looking to keep the tires from wearing out and make the vehicle handle nicely and track correctly, i.e., “car go where wheel is pointed without drama.”
A vehicle that is outta spec that has a happy owner getting tens of thousands of uneventful miles on its tires is right on the money. Since this is a modest method, match it to customers and vehicles with modest requirements.
This string thing isn’t the perfect alignment. It is, however, expedient, affordable, and realistic for a small shop. If you cater to thrifty customers who care more about keeping the fleet moving than what flavor syrups you stock next to the coffee bar in the waiting room, this might be a way to keep from sending them somewhere else. It’s also a great way to practice feeling for yourself how toe affects handling and maybe the only way to align non-traditional wheeled vehicles.
Sometimes the solution to the shoestring budget is the shoestring itself, eh?
The articles and other content contained on this site may contain links to third party websites. By clicking them, you consent to Dorman’s Website Use Agreement.

They may look simple, but these little toggles can enable powerful electronic versatility.
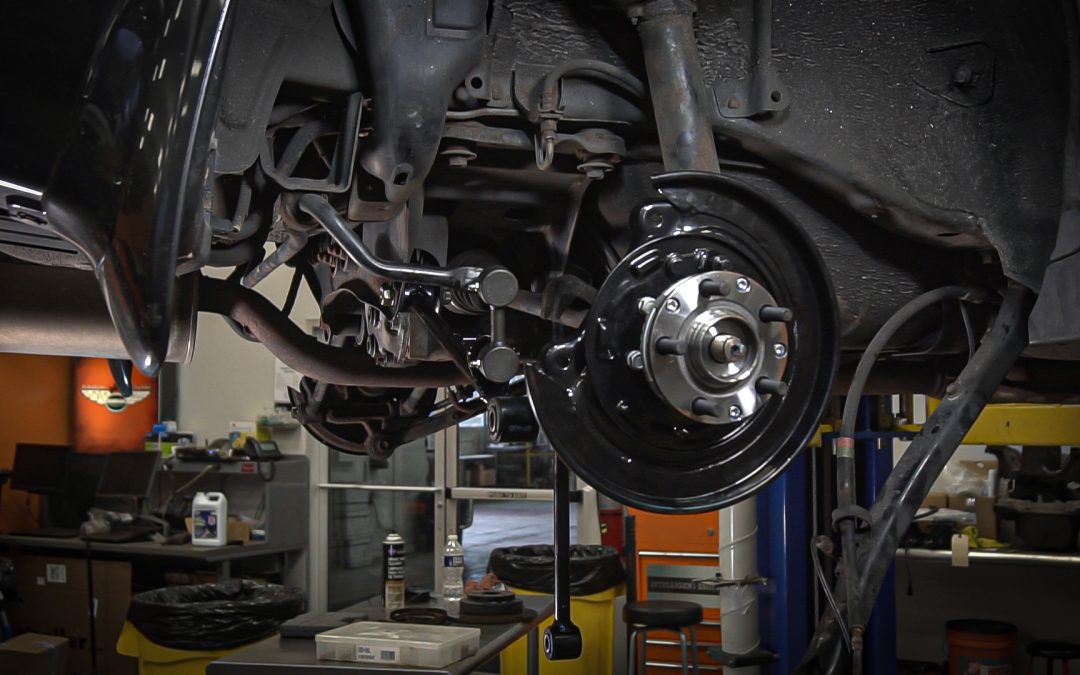
Loaded knuckles streamline wheel bearing and suspension repairs to help shops boost efficiency and profitability.
Can there be one threadlocker color to rule them all?

When it comes to threaded items, wrong is right. Or is it left?

To reach a successful diagnostic conclusion, you have to follow the right diagnostic path.

A bent dipstick and a broken oil cap are lucky indeed!
Participation in this forum is subject to Dorman’s Website Terms & Conditions. Please read our Comment Policy before commenting.