Patching a punctured tire is a common job, but are you up to date on the latest guidance for safe plug locations?

I was thinking about some of the stumbling blocks I had when I began turning wrenches a long time ago, and I recall ball joints sticking out as problematic. I could not for the life of me understand why other mechanics considered them “gravy work.” And that’s because I had knowledge without the benefit of experience. Nowadays, yeah, a ball joint is easy-peasy for me, even when they put up a fight.
Obviously, the factory service manual is your north star for servicing things. But sometimes the theoretical (the steps listed) and the practical (the massively rusty hunk of junk on your lift) don’t always line up. So let me provide to you one or two tips that helped me get faster when servicing ball joints.
Many ball joints can be separated from the knuckle with judicious force applied in just the right way. Hitting the knuckle in the tapered section often is all you need to break the tapered fit between the ball joint’s stud and the corresponding taper in the knuckle.

One hit is often all it takes to break the taper’s hold. See where I got this one? Photo: Lemmy
Use the biggest hammer you can safely swing. Three- or four-pound sledgehammers have proven to be about the right size for me most of the time. Remember two things:
An air hammer works mint—if you’ve got one. I’d also encourage you to grab your magnet before you try this trick. Steel’s pretty forgiving. Aluminum is not. Use common sense and don’t go beating on a material that won’t tolerate it.
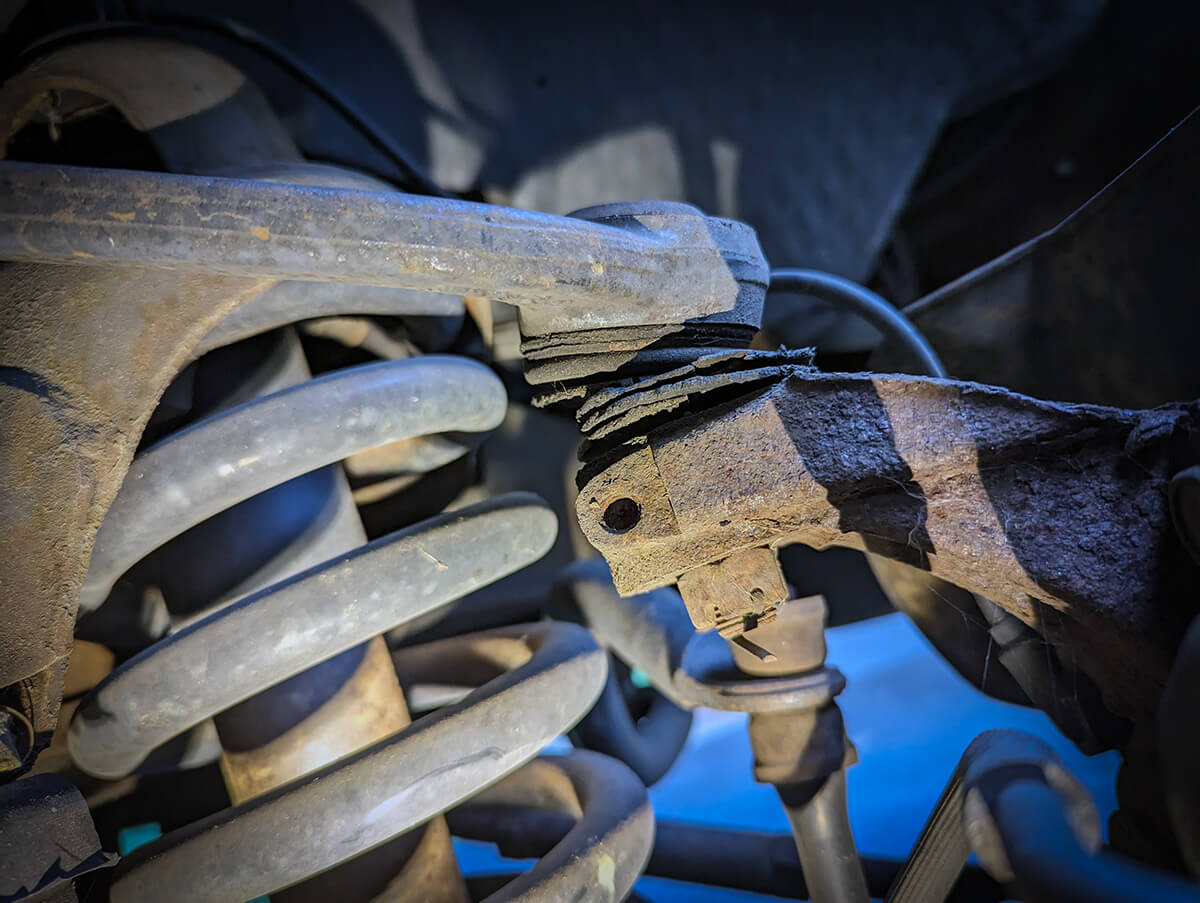
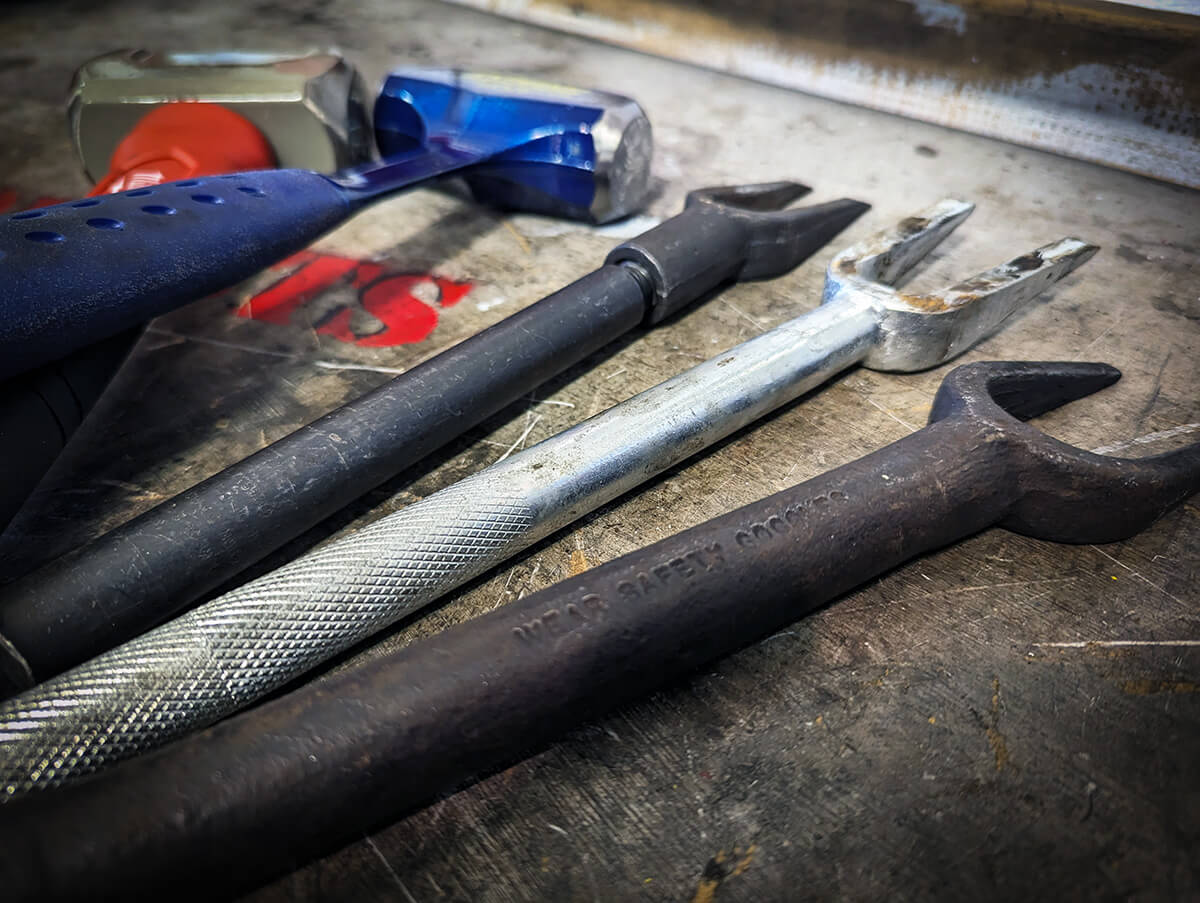
If you’re replacing the ball joint, this is obvious. But maybe you’re just splitting this for a CV axle or hub assembly, and the customer would expect the ball joint can be left in service. If that’s the case, pad your estimate (or what you’re telling your writer the car needs). If you’ve only got a pickle fork in your toolbox, odds are great you’re gonna destroy the boot, and in many cases, boots are not available and not cost-effective.

This boot (like the ball joint it used to protect) is smoked, so saving the ball joint is sort of a moot point. Photo: Lemmy
Start with a threaded separator tool if you have one. (And if you don’t, save up and get one; they’re great for saving joints that are still usable.) If that doesn’t work, the sledgehammer or air hammer on the knuckle is the next-least-destructive way. If that doesn’t get it, well… it’s game on, because that joint probably isn’t making it out alive.
Pickle fork (or pickle fork on the air hammer) follows, with the understanding that the joint boot is probably shot and the ball joint will need replacing, then pickle fork with sledge, then torch.
Hopefully that helps a few of you who haven’t been doing this for years and years. A surprising amount of tools are needed to remove ball joints, but once you’ve got ‘em (and a little know-how on how to best use them), they’ll pay for themselves many times over.

The articles and other content contained on this site may contain links to third party websites. By clicking them, you consent to Dorman’s Website Use Agreement.
Participation in this forum is subject to Dorman’s Website Terms & Conditions. Please read our Comment Policy before commenting.