Customers don’t realize it needs attention. Sadly, many mechanics don’t, either.
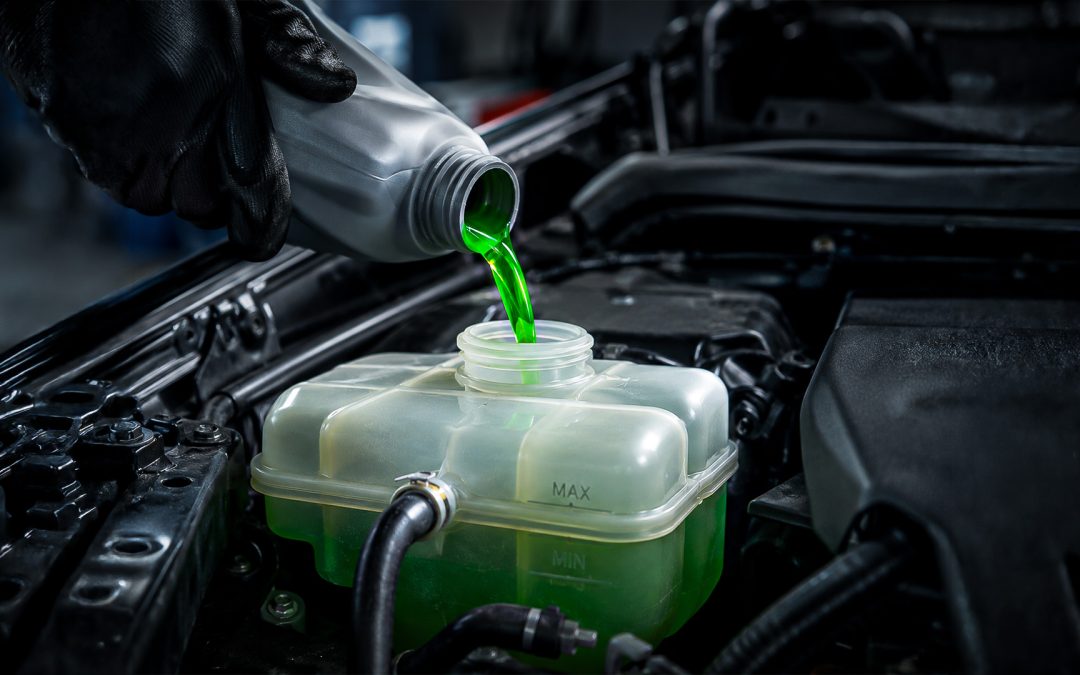
The Most Neglected Part of the Cooling System
read more
Customers don’t realize it needs attention. Sadly, many mechanics don’t, either.
Serviceability Hall of Shame is an occasional rant on vehicles that were simply not made mechanic-friendly. Have your own repair nightmare? Let us know at ShopPress@DormanProducts.com.
Sometimes I marvel at the complexity of a task on a vehicle, and I’m sure you do, too. There are many considerations when a vehicle is being designed and engineered, and sadly, serviceability doesn’t seem to be leading the pack—if anything, it’s the opposite. Sometimes you get to be the bearer of that bad news that something is about to cost a customer a lot of money because it’s gonna cost you a lot of time. Batteries in FWD Chryslers are just one such job, because they live in the dang fender.
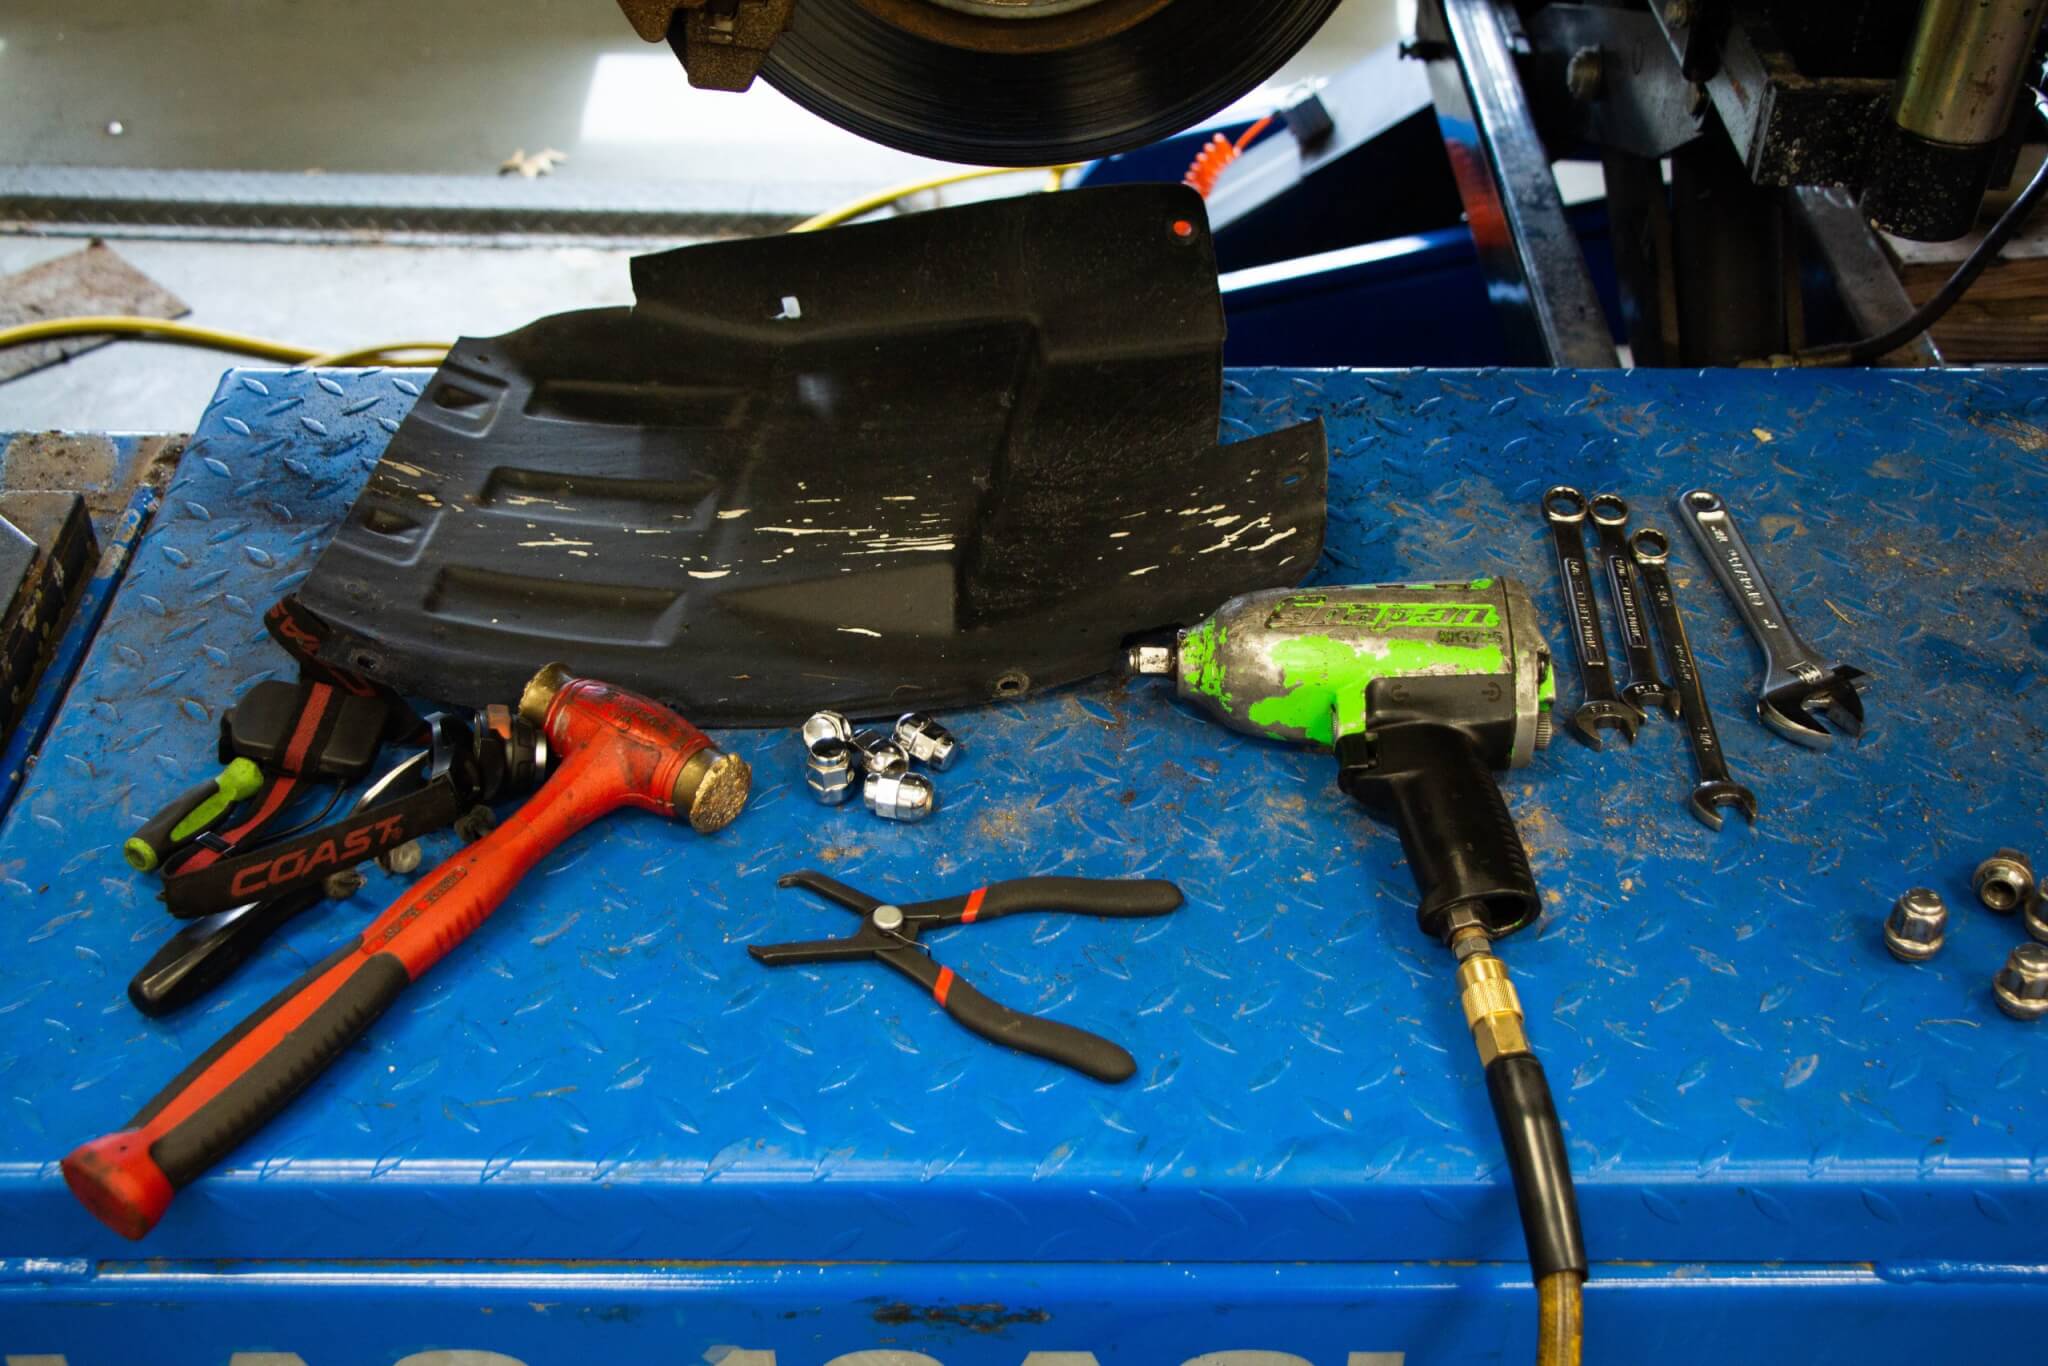
Should I really need this many tools to remove a battery? Photo by Lemmy.
The first time I encountered one of these was when I’d ventured out from behind the parts counter to install a battery I had just sold a customer, and boy was I ticked off. That was nearly 20 years ago. I think the car in question was a Sebring, but the procedure I am about to describe was the same for a ton of cars. Intrepids, I think. Journeys. Cirruses. (Cirii? Is it like Prii? Whatever. You know what I mean.) Breezes. 200s, and plenty of other stuff I’m not remembering.
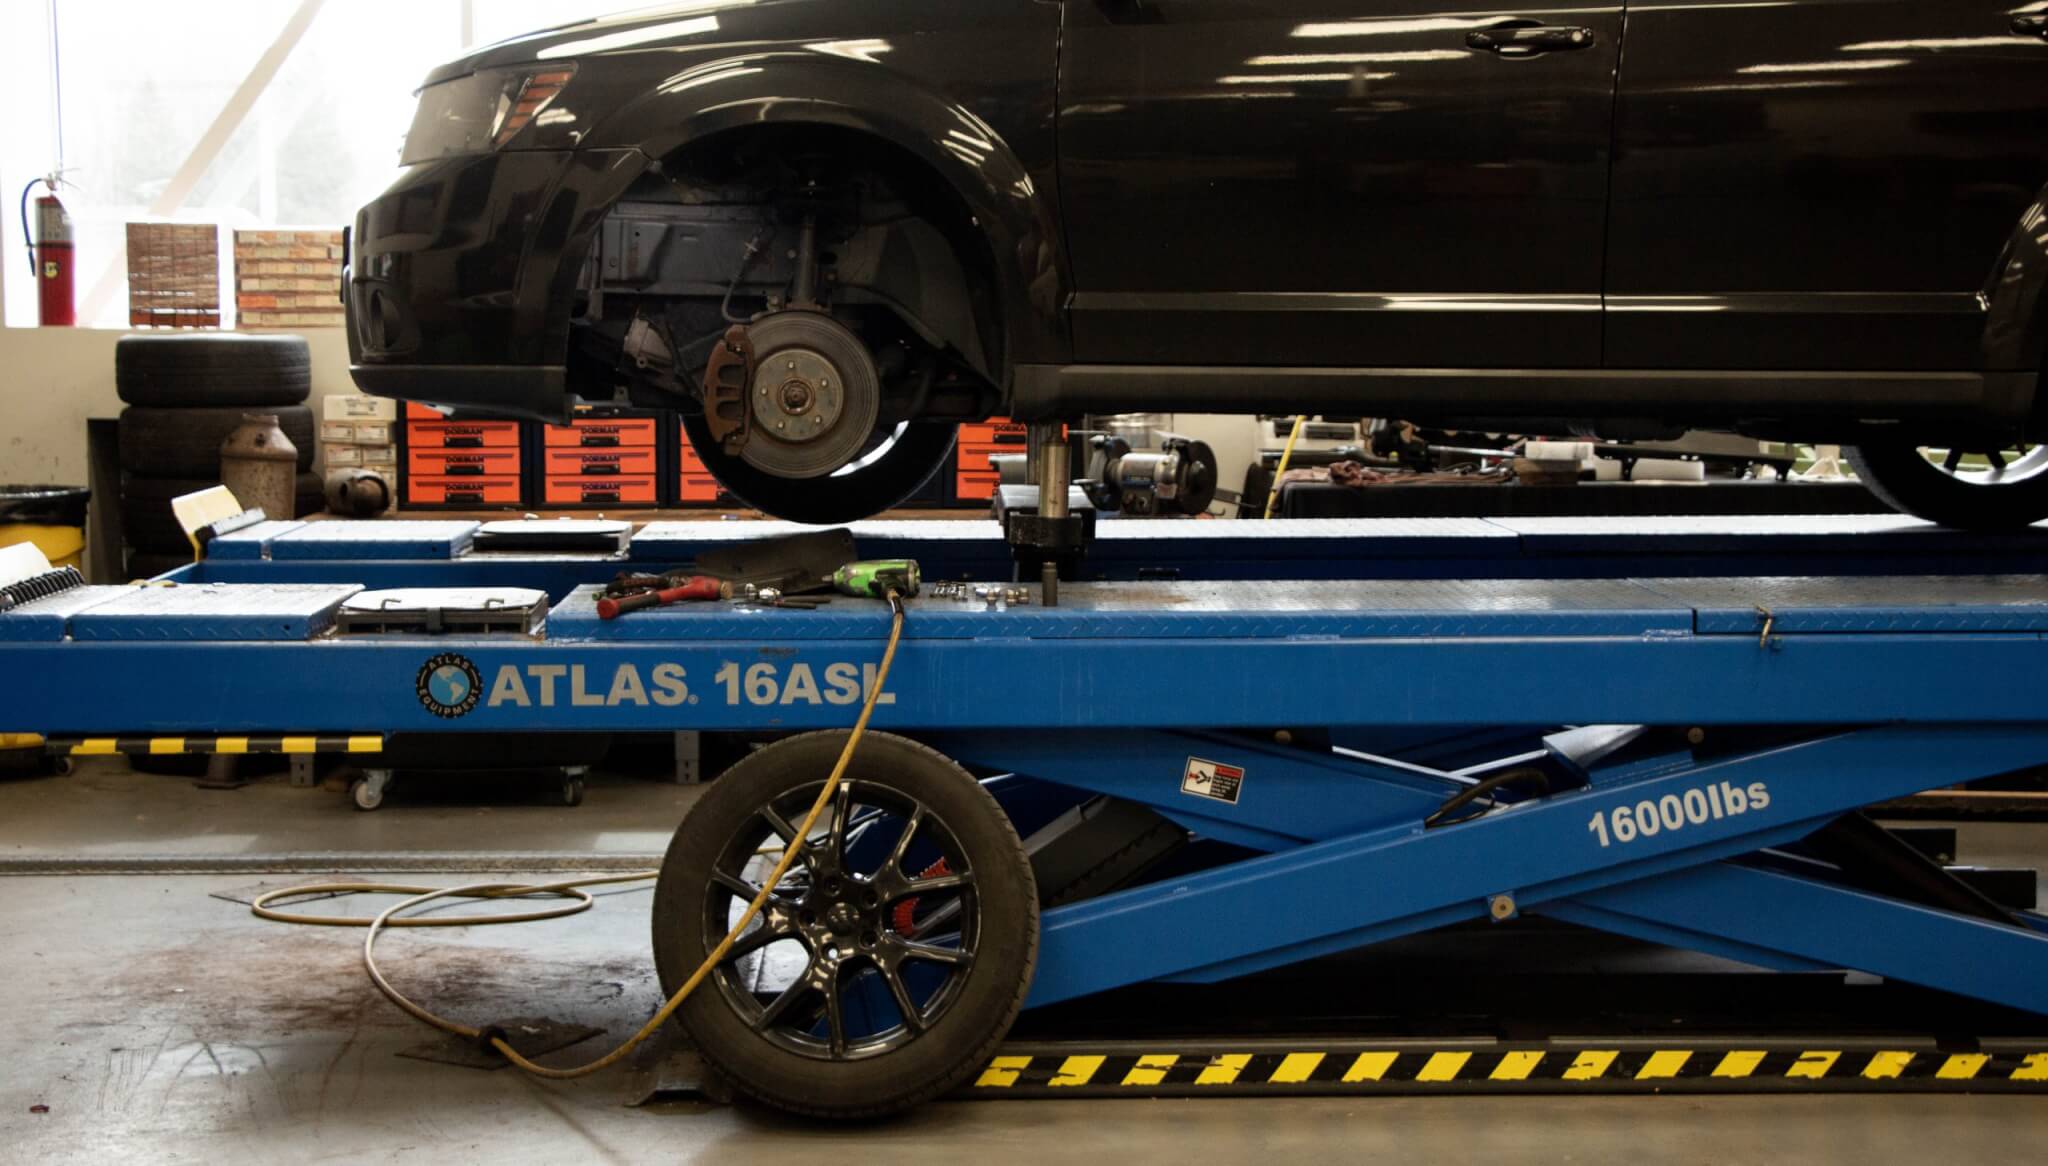
Good lord. I don’t know why, exactly, but taking a wheel off for a battery change burns my cookies. Photo by Lemmy.
I’m not just rambling about some weird old car design. In fact, I know most of you are probably nodding along because you already know what I am about to tell you: Chrysler pulled this stupid stunt for more than two decades. The cab forward design, conjured up in the name of safety, meant that a lot of things under the hood got squished and creatively relocated. The battery was stashed in the fender.
Before I begin with my screed, I’ll be the first to admit it’s actually a good spot for a battery. Moving weight lower in a vehicle helps handling, and that area of a vehicle is not usually crowded. But they really could have made it easier to get at this thing. Step 1 for a battery replacement on one of these heaps was disconnecting the negative cable—but it wasn’t at the battery (more on that in just a moment). No, instead you had to jack the car up or rack it on the lift and remove the left front wheel.
After that, you’d be pulling the fender liner, which usually meant you’d break or lose a few fasteners to join the few that were already broken or missing. And God forbid they use the same fastener. Nope, there are eleventy-four different pieces, all seemingly requiring a different tool. Fine. Whatever. Get that out of the way.
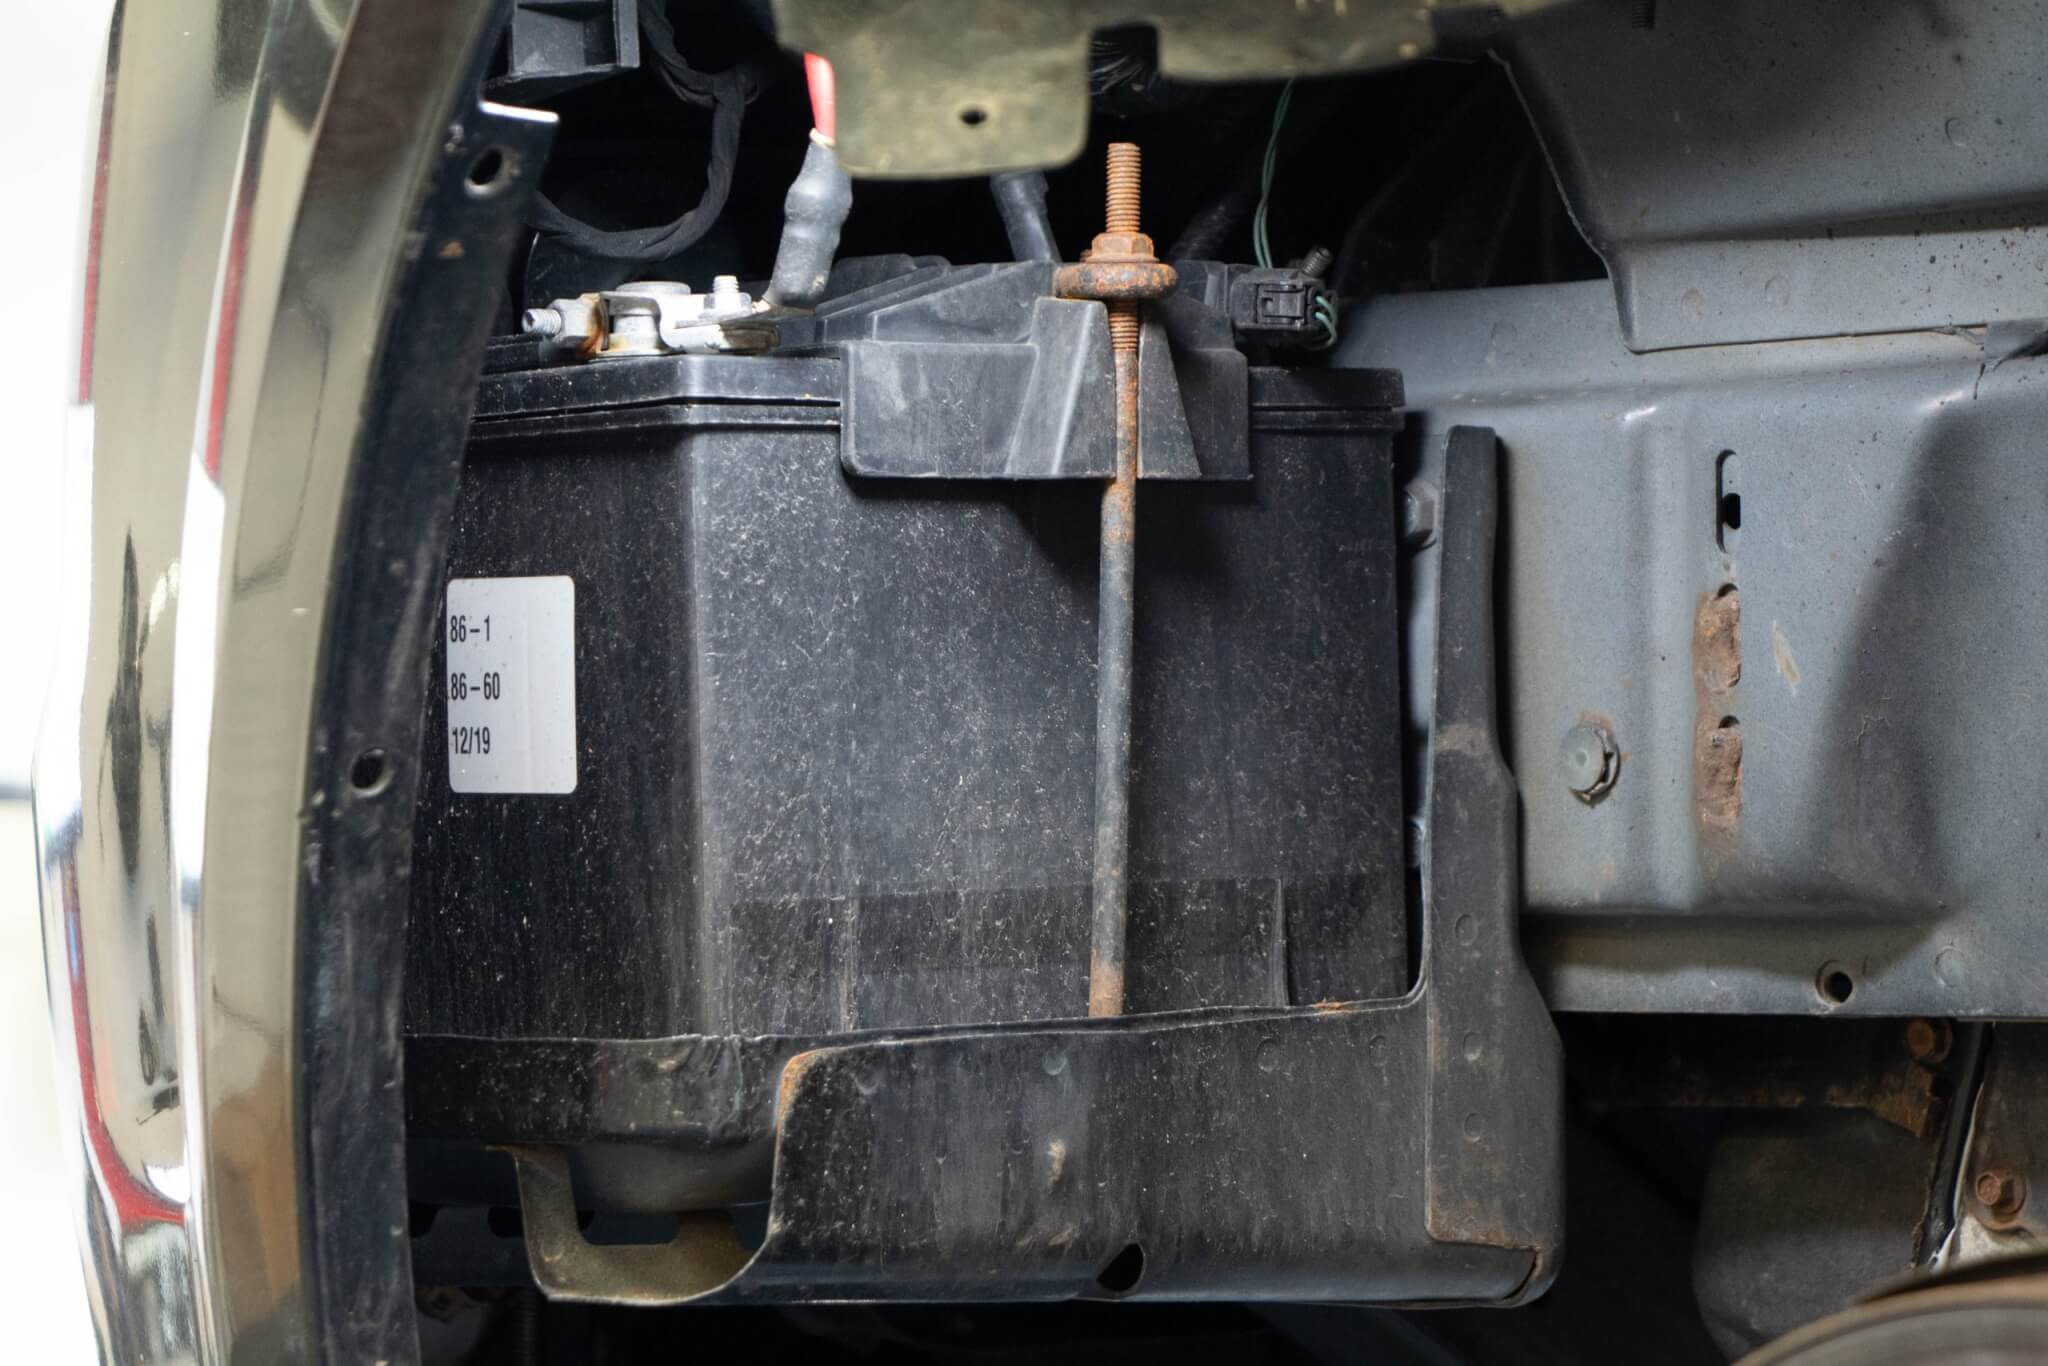
That’s… that’s not where that goes. Photo by Lemmy.
At this point, you’re looking at a battery in a small-ish but accessible hole. Depending on the application, you may or may not have good access to the negative side of the battery. Normally, my play here would be to disconnect the negative cable, but if it’s not accessible, I just pull the positive first, being careful to not be a bo-bo and ground something. The factory procedure for a few of these actually had you isolate the battery by disconnecting the remote ground post under the hood, but I like to live on the wild side. Next I get the hold down bracket out of there. I seem to remember some cars having a weird angle bracket thing, which also needs to come out. By then, of course, there’s enough wiggle room to get that negative cable undone.
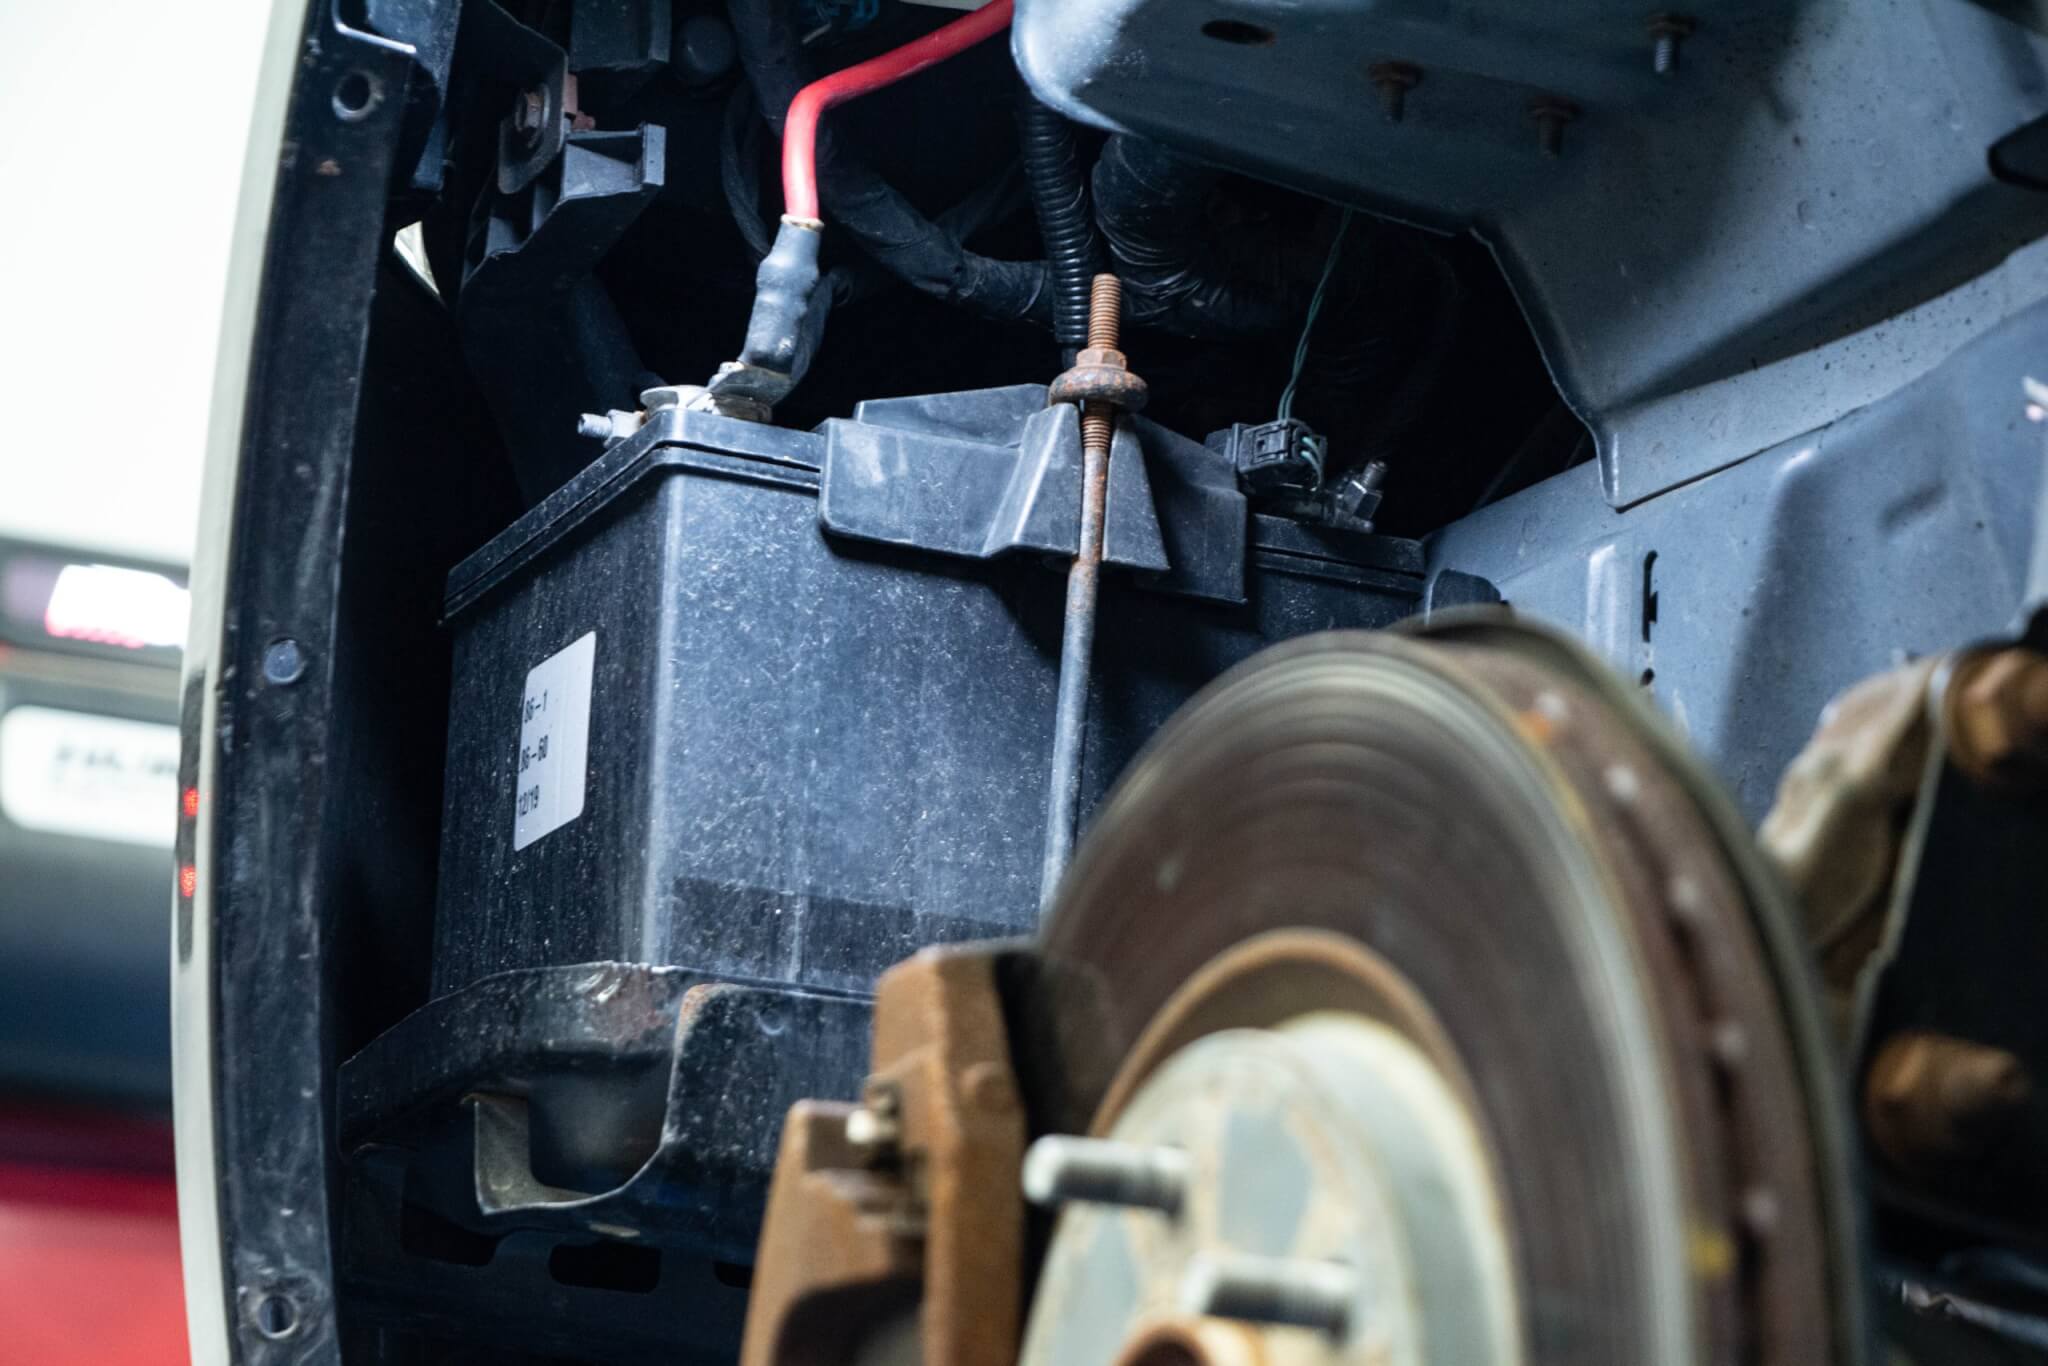
Ugh. Photo by Lemmy.
Obviously if you made it this far, you can figure out the rest of this procedure; reinstalling a new sparklebox is just as you’d expect. But does a battery replacement really need to be that difficult?
No. No it does not.
The articles and other content contained on this site may contain links to third party websites. By clicking them, you consent to Dorman’s Website Use Agreement.

Technician A argues that the 20/20 Rule captures most lab scope signals, while Technician B counters that a DSO doesn’t record signals in real time but samples and plots voltage data. Who is correct?

Technician A says the ECM’s main job is to keep emissions within certified limits. Technician B says fuel trim PIDs show corrections to fuel calculations. Who is correct?
Supplemental information to make your first rodeo a little easier.
There’s no magic bullet—but there are a few arrows you can pull from your quiver.

Technician A says an empty DEF tank can cause a no-start condition. Technician B says DEF quality should be checked when SCR faults are present. Who is correct?
Customers don’t realize it needs attention. Sadly, many mechanics don’t, either.
Participation in this forum is subject to Dorman’s Website Terms & Conditions. Please read our Comment Policy before commenting.