Maybe there’s a reason “upsell” has become a dirty word—and it might be your fault.

Service Writing Tip: Justify Your Recommendations
read more



Maybe there’s a reason “upsell” has become a dirty word—and it might be your fault.
Torque-to-angle, also known as angle-torque or torque-plus-angle, is a fastening method that combines an initial torque application with a subsequent angular rotation to achieve precise bolt or fastener tension. This technique ensures consistent clamping force, crucial for components where uniform load distribution is essential to prevent distortion, leaks, or failure. Unlike traditional torque-only methods, torque-to-angle accounts for variables like friction, thread condition, and material stretch, providing a more accurate and repeatable fastening process. In other words, degrees of rotation are used to make sure each fastener has stretched the exact same amount.
The process typically involves two steps. An initial torque is applied to seat the fastener and achieve a baseline clamping force. Following this is the angle application, in which the fastener is rotated a precise number of degrees, stretching the bolt to its designed yield point or optimal tension.
This method is particularly effective for fasteners that require controlled elongation to maintain structural integrity under high loads or thermal expansion.
Torque-to-angle specifications are critical for several reasons. By incorporating an angular component, the method minimizes variations caused by friction, surface imperfections, or lubricant differences, ensuring consistent clamping force across multiple fasteners.
It prevents over- or under-tightening, which can lead to bolt stretching, thread stripping, or component warping. Proper tension reduces the risk of fastener failure in critical systems, enhancing vehicle safety and performance. Modern engines use lightweight materials like aluminum, which are prone to distortion if unevenly loaded. Torque-to-angle ensures uniform pressure distribution. When a manufacturer specifies a torque-to-angle procedure for a fastener, that’s your cue to pay attention and work with extra care. Also, don’t be surprised if the manufacturer demands all-new hardware for the installation.
Many automakers, particularly those producing high-performance or precision-engineered vehicles, rely on torque-to-angle specifications. Torque-to-angle is commonly specified for components where precise clamping force is essential to performance and longevity. The most common applications include:
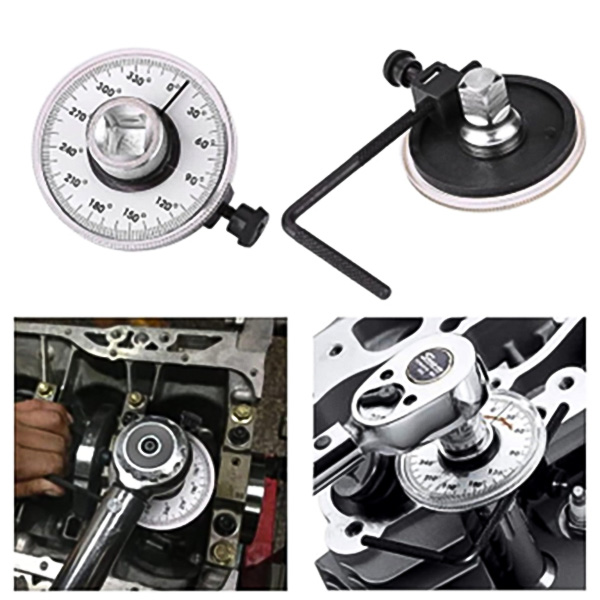
To execute a torque-to-angle procedure correctly, technicians must follow precise steps and use appropriate tools. While all of this may seem like overkill to simply turn a bolt 90 degrees, torque-to-angle specifications are almost always used for critical and expensive components. This is not the place to guesstimate! Here’s a general guide:
Tools required:

Step-by-step procedure:
Use quality tools. Invest in a calibrated torque wrench and have the calibration checked as directed by the tool manufacturer. Use a reliable angle gauge for accuracy. Always follow the published torque sequence and values. Incorrect tightening order can cause uneven clamping and lead to component failure. And check for factory updates, also known as Technical Service Bulletins (TSBs). Manufacturers may issue service bulletins revising torque-to-angle specs. It may sound silly, but practice! Small errors in angle application can significantly affect clamping force.
Torque-to-angle specifications are a cornerstone of modern automotive repair, ensuring precision, safety, and reliability in critical vehicle components. By understanding the process, using the right tools, and following manufacturer guidelines, you can achieve consistent results, particularly for high-stress components like cylinder heads and connecting rod bolts. As automakers continue to adopt advanced materials and engineering, mastering torque-to-angle procedures remains an essential skill for technicians.
The articles and other content contained on this site may contain links to third party websites. By clicking them, you consent to Dorman’s Website Use Agreement.

Need to make a secure electrical connection or repair with heat shrink tubing on the outside?
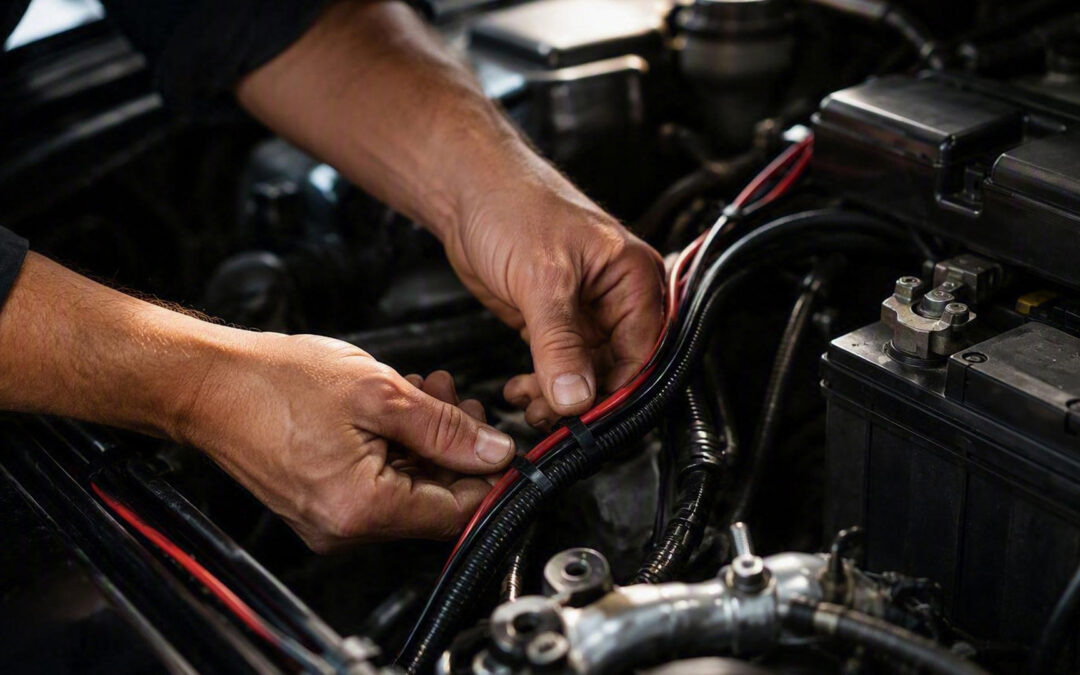
Don’t waste time with jumbled electrical connectors under the hood.

Keeping track of small parts during a job can be tricky, but there’s a cheap and effective way to solve that problem.
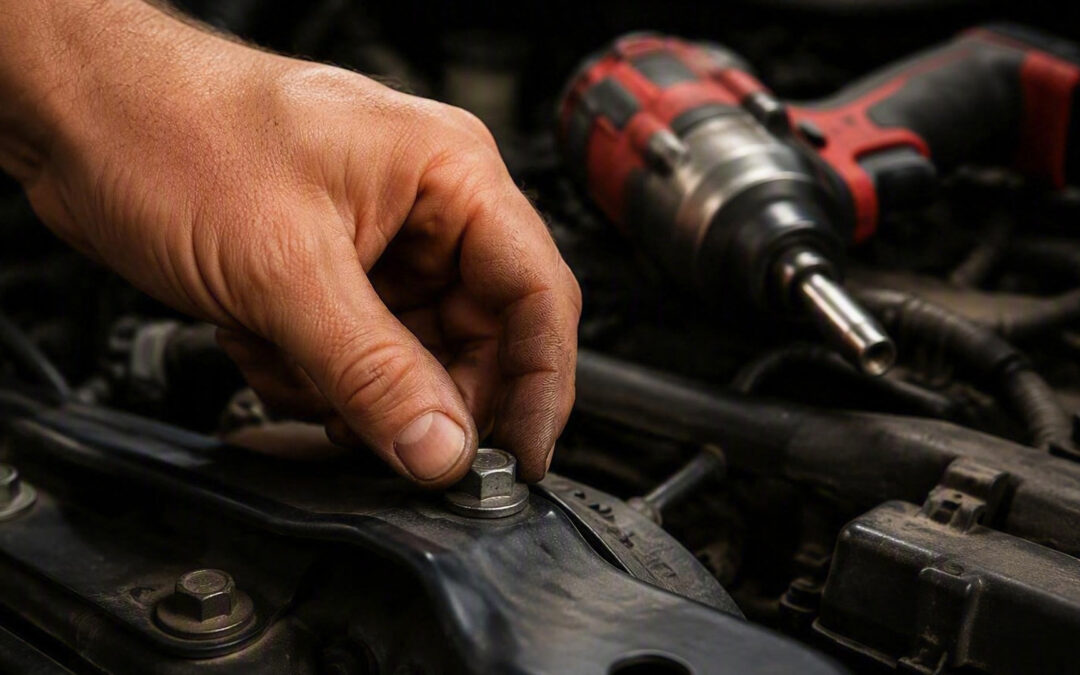
Cross-threading or stripping a fastener can bring progress to a halt in an instant. Start by hand-threading fasteners.

Every car you touch is full of it, but it’s not in any service manual. Here’s the working tech’s guide to plasticizers: why plastic goes soft, sticky, chalky, and cracked, what actually happens when you hit trim with a torch, and why your customer’s dash keeps fogging the windshield.

Ever get up to your elbows in a diagnostic problem, only to wind up right where you started an hour later?
Participation in this forum is subject to Dorman’s Website Terms & Conditions. Please read our Comment Policy before commenting.